Making jerky in a dehydrator is a fun and easy way to create a delicious and healthy snack. I love making homemade jerky because I can control the ingredients and customize the flavors to my liking.
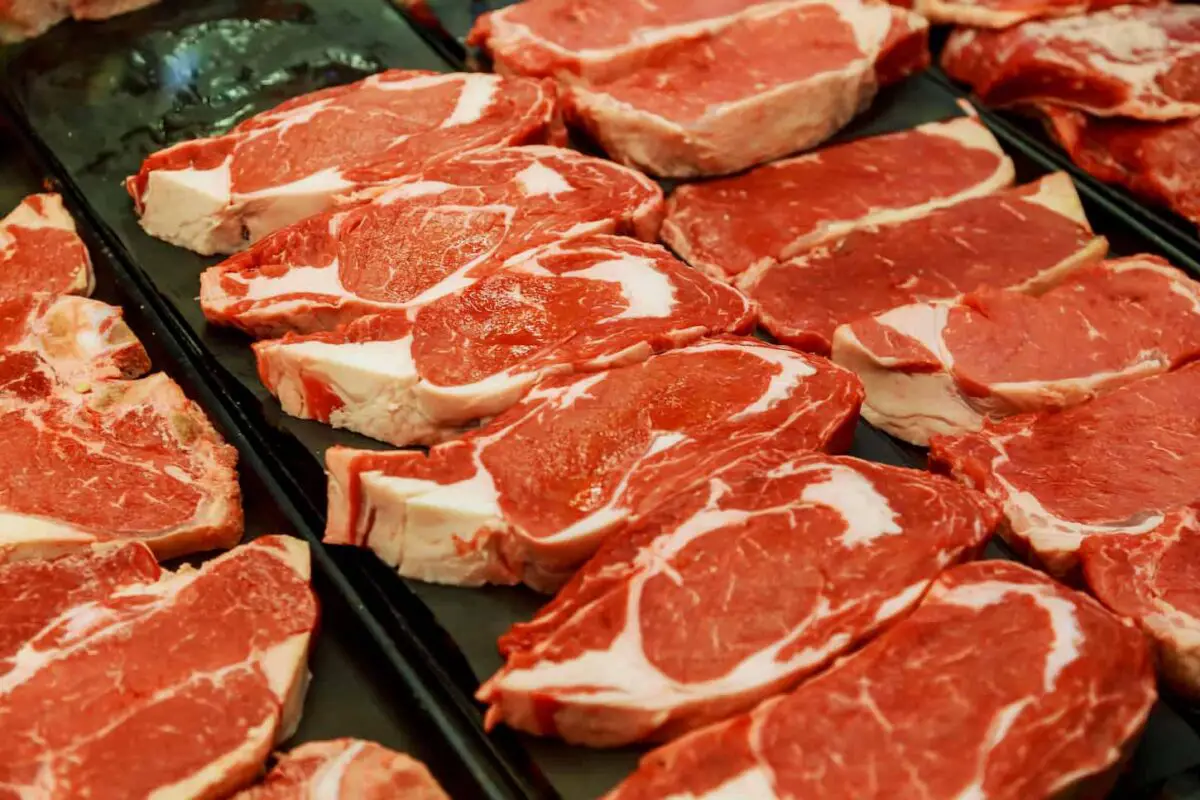
When choosing meat for jerky, beef is the most popular choice. Look for lean cuts like top round or flank steak and trim any visible fat. You can also experiment with other meats like game meats (venison), turkey, chicken, or even fish.
Dehydrators are the best tool for making jerky, as they provide a consistent temperature and airflow for even drying. However, you can still make jerky in an oven or smoker if you don’t have a dehydrator. Just be sure to follow food safety guidelines and adjust the cooking time and temperature accordingly.
Choosing the Right Meat for Jerky
When it comes to making homemade beef jerky in a dehydrator, choosing the right meat is crucial. The goal is to find a piece of meat that has as little fat as possible. Fat can go rancid and spoil the jerky, creating an unpleasant taste and texture.
Lean Cuts of Beef
For the best results, I recommend using lean cuts of beef such as Eye of Round, Top & Bottom Round Roasts, or Sirloin Tip. These cuts are low in fat and are perfect for making homemade beef jerky in a dehydrator.
Almost any lean cut will work, so don’t be afraid to shop local sales.
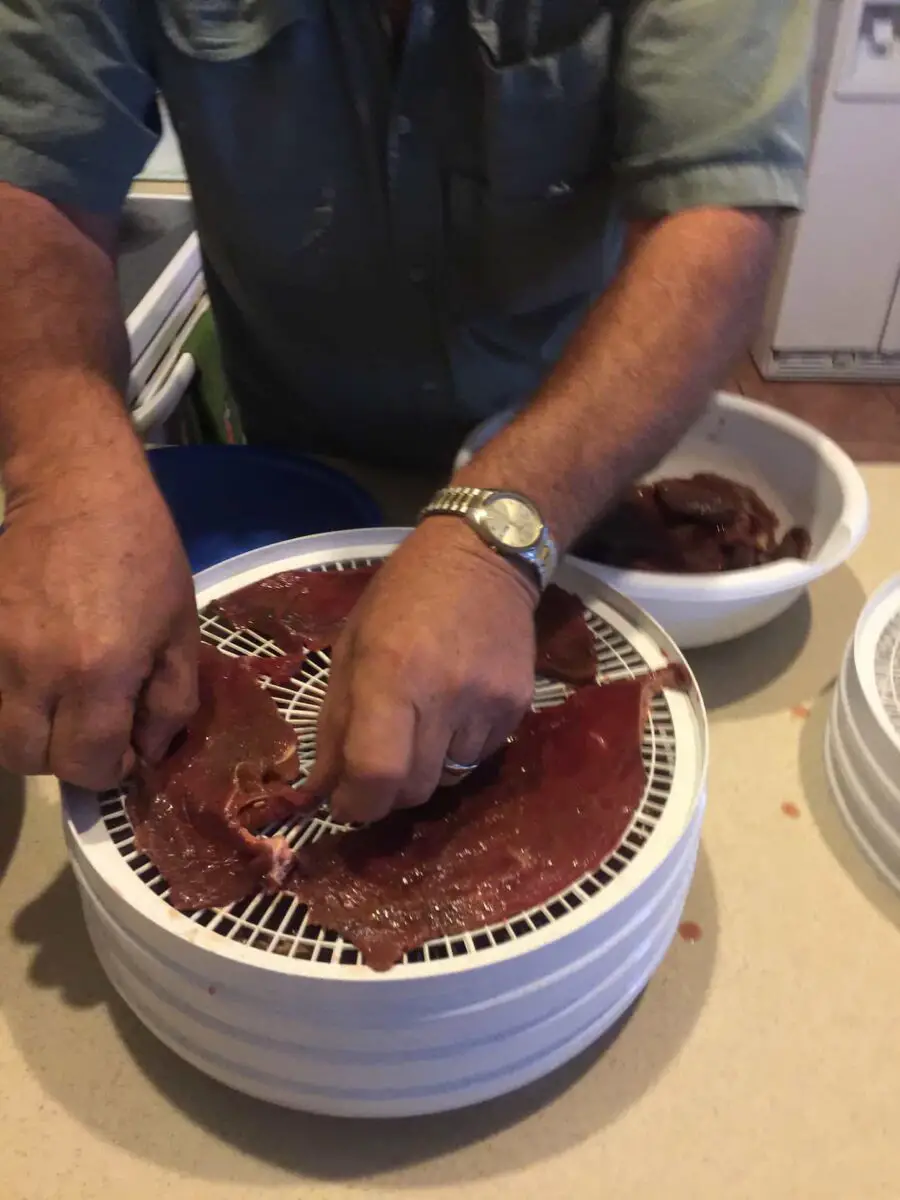
When preparing the meat, it is important to remove any visible fat. This can be done using a sharp knife or a jerky slicer. Additionally, slicing the meat against the grain will produce a more tender jerky, enhancing your homemade snack’s overall texture and flavor.
Other Meat Options
If you’re not a fan of beef or want to switch things up, you can use other meat options to make jerky in a dehydrator. Venison, game meats, brisket, and cuts of beef such as round steak are all great options.
When using other meats, it’s important to remember that the fat content may vary. Be sure to trim any visible fat before slicing and marinating the meat.
While making homemade beef jerky in a dehydrator may initially seem intimidating, choosing the right meat is the first step in ensuring a successful batch. With a little practice and patience, you’ll make delicious and healthy homemade jerky in no time.
Preparing the Meat for Jerky
Before you can start making beef jerky in a dehydrator, you need to prepare the meat. This includes slicing the meat, marinating it, and deciding whether to cook it before dehydrating it into jerky.
Slicing the Meat
The first step in preparing the meat is to slice it. You want to slice the meat against the grain, making it easier to chew. If you slice it with the grain, the jerky will be tough and chewy.
You also want to make sure that the slices are uniform in thickness. This will ensure that the jerky dries evenly.
Marinating the Meat
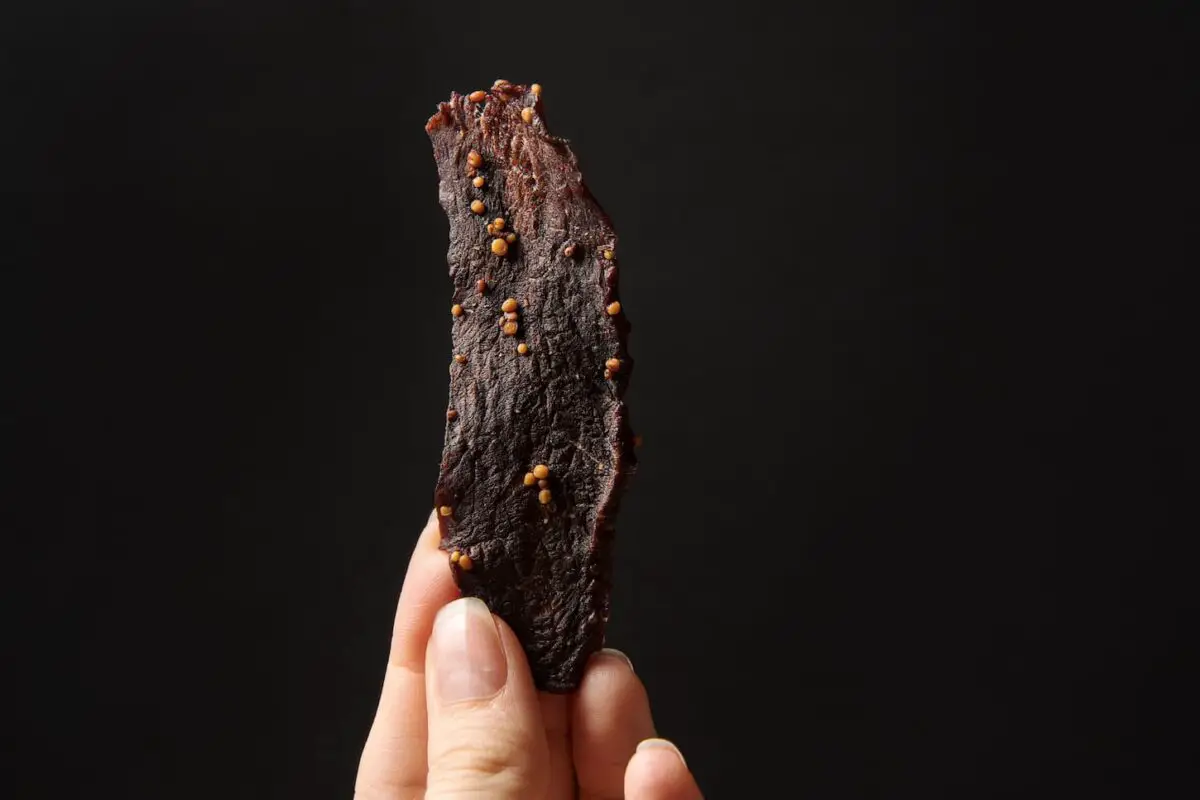
Marinating the meat is an important step in making beef jerky. It adds flavor and helps to tenderize the meat. There are a variety of marinades. Popular marinades usually include mixes of soy sauce, Worcestershire sauce, and teriyaki sauce. Popular spices include red pepper flakes.
I recommend combining soy sauce, Worcestershire sauce, brown sugar, liquid smoke, and seasonings such as black pepper, salt, garlic powder, onion powder, and paprika for the marinade. This will give your homemade jerky a delicious flavor and a protein-packed snack that will last for weeks when stored properly in the freezer.
To create unique flavor combinations, you can also experiment with different marinades, such as tamari and maple syrup.
When marinating the meat, make sure to use a recipe that is safe for dehydration. You want to avoid marinades that are high in sugar or salt, as these can interfere with the dehydration process. You can also use a curing salt in your marinade to help prevent the growth of bacteria, although it’s not strictly necessary.
Do You Cook Meat Before Dehydrating It into Jerky?
Strictly speaking, meat does not have to be cooked before dehydrating it into jerky. However, some people may cook it slightly to make the jerky less chewy, although dehydrating the meat for more time can achieve a similar effect.
When making beef jerky, one question is whether to cook the meat before dehydrating it. Some people prefer to cook the meat first, which can help remove some moisture and make the jerky less chewy. However, others prefer to dehydrate the meat raw, as this can result in a more tender beef jerky.
- If you cook the meat first, use a convection oven or a dehydrator with a temperature setting. Cook the meat until it is just done but still moist. You don’t want to overcook the meat, as this can make it tough and chewy.
- If you dehydrate the meat raw, remove as much moisture as possible before starting the dehydration process. You can use a meat tenderizer to help break down the fibers and make the meat more tender.
We don’t cook meat before turning it into jerky, as it’s an extra step we can skip. We can get similar results by adding a little time onto the dehydrator’s usual jerky time, which is much less work (and fewer dishes to clean).
Dehydrating the Jerky
Now that you have marinated your beef, it’s time to dehydrate it. Dehydrating the jerky is a crucial step in making beef jerky. It is important to follow the correct temperature and time guidelines to ensure that the jerky is safe and has the right texture.
How Long It Takes to Make Jerky
The length of time it takes to make beef jerky depends on a few factors, such as the thickness of the meat and the humidity of your environment. Dehydrating beef jerky in a dehydrator takes about 5-12 hours.
While beef’s usual “safe temperature” is 160°F, jerky doesn’t reach that temperature. Instead, it cooks at a lower temperature for more time. So it should be safe, even if the jerky’s interior never reaches 160°F.
Best Temperature for Making Jerky
The best temperature for making beef jerky is between 155 and 165°F. This temperature is high enough to kill any bacteria in the meat but not too high that it will overcook the meat.
We do our jerky in our Excalibur dehydrator on the 155°F-plus setting.
Using a Dehydrator
To use a dehydrator, lay the marinated beef strips on the dehydrator trays and set the temperature to 155°F or whatever your model’s instructions say to use. Leave space between the strips to allow for proper air circulation.
A dehydrator is a great tool for making beef jerky. It has a fan that circulates air around the meat, which helps dry it evenly. Honestly, it’s the best option, though you can also make jerky in an oven or a solar cooker (dehydrator).
Using an Oven
You can still make beef jerky in your oven if you don’t have a dehydrator. To do this, preheat your oven to its lowest setting approaching 165°F and place the marinated beef strips on a wire rack over a baking sheet. Bake for 4-6 hours or until the internal temperature of the jerky reaches 160°F.
Note: Putting the meat on a wire rack over a baking sheet is important. This helps more air circulate even if you don’t have a convection oven.
Our oven doesn’t go below about 200°F, and it’s a standard model. If your oven is similar, you can still make jerky using your oven, but you’ll have to watch it like a hawk so the jerky doesn’t burn.
Using a Solar Dehydrator
You can use a solar dehydrator if you’re looking for a more eco-friendly way to dehydrate your beef jerky. This dehydrator uses the sun’s power to dry out the meat.
To use a solar dehydrator, lay the marinated beef strips on the tray and place them in direct sunlight. It may take longer to dehydrate the jerky using a solar dehydrator, but it’s a great option if you’re trying to reduce your carbon footprint.
A solar dehydrator usually takes longer than a dehydrator because it’s not a constant temperature – not unless you spend time moving it to stay in the sun anyway. So it’s easier than an oven but still requires a lot of babysitting.
Want to make a solar dehydrator? We’ve got instructions and basic plans for you right here.
Storing Jerky Safely
It’s important to store jerky properly to ensure it stays fresh. Jerky can be kept in an airtight container in the fridge for up to 2 weeks. For longer storage, use a vacuum sealer and oxygen absorber to remove as much air as possible from the package.
This will help to prevent spoilage and extend the shelf life of your beef jerky.
Storing Your Jerky Long Term
If you want to keep jerky longer than about 2 weeks, you can store it in the refrigerator for up to six months or in the freezer for up to a year.
If you’d like to keep it longer than a year, read this article on how to do it: How Long Does Jerky Last? How to Make It Last Longer!
Tips to Enjoy Your Jerky
After making your jerky, it’s time to enjoy the fruits of your labor. Here are a few tips to make the most out of your homemade jerky:
- Store properly: Store your jerky in an airtight container or resealable plastic bag to keep it fresh. You can also keep it in the fridge or freezer for longer shelf life.
- Experiment with flavors: Try different marinades and seasonings to find your perfect flavoring combination. Popular bases include teriyaki, spicy, and sweet.
- Pair with snacks: Jerky is a great addition to a snack board or charcuterie platter. Try pairing it with cheese, crackers, nuts, and dried fruit for a tasty and satisfying snack.
- Take it on the go: Jerky is a convenient and portable snack that can be enjoyed on the go. Pack it in your lunchbox, backpack, or gym bag for a protein-packed snack when you’re on the move.
- Use in recipes: Jerky can be versatile in salads, stir-fries, and pasta dishes. Add it to your favorite recipes for an extra flavor and protein boost.
- Use it as a topping: Jerky can be great for pizzas or baked potatoes, especially if you’re out of bacon bits.
It’s important to note that jerky is a high-protein, low-carb snack that can be a good choice for those watching their calorie intake. However, it’s also important to be mindful of portion sizes, as jerky can be high in sodium.
Best Products for Making Jerky
Now that you’re ready to make your own jerky, make sure you’ve figured out where you’ll make it.
I highly recommend you use a dehydrator. We’ve got an Excalibur dehydrator, and it’s the best on the market, in my opinion.
From there, get great marinades by shopping local sales for the various sauces and seasonings you’d like to try. I’ve found that local sales are always the best place to get fresh ingredients, so go check out your local store and any local farmer’s markets.
Next Steps
With these tips, you can enjoy your homemade jerky in various ways. Whether you’re snacking on it at home or taking it on the go, jerky is a delicious and satisfying snack that can be enjoyed anytime, anywhere.
Want to read more about jerky? Gotcha covered. Read this next: Can You Make Jerky In a Freeze Dryer? Because you know you want to know the answer.
