Freeze-drying opens a whole new world of new possibilities, not only with preserving food but also with making our own foods. Freeze-dried food also tends to be healthier since it retains most of the nutrients in the food.
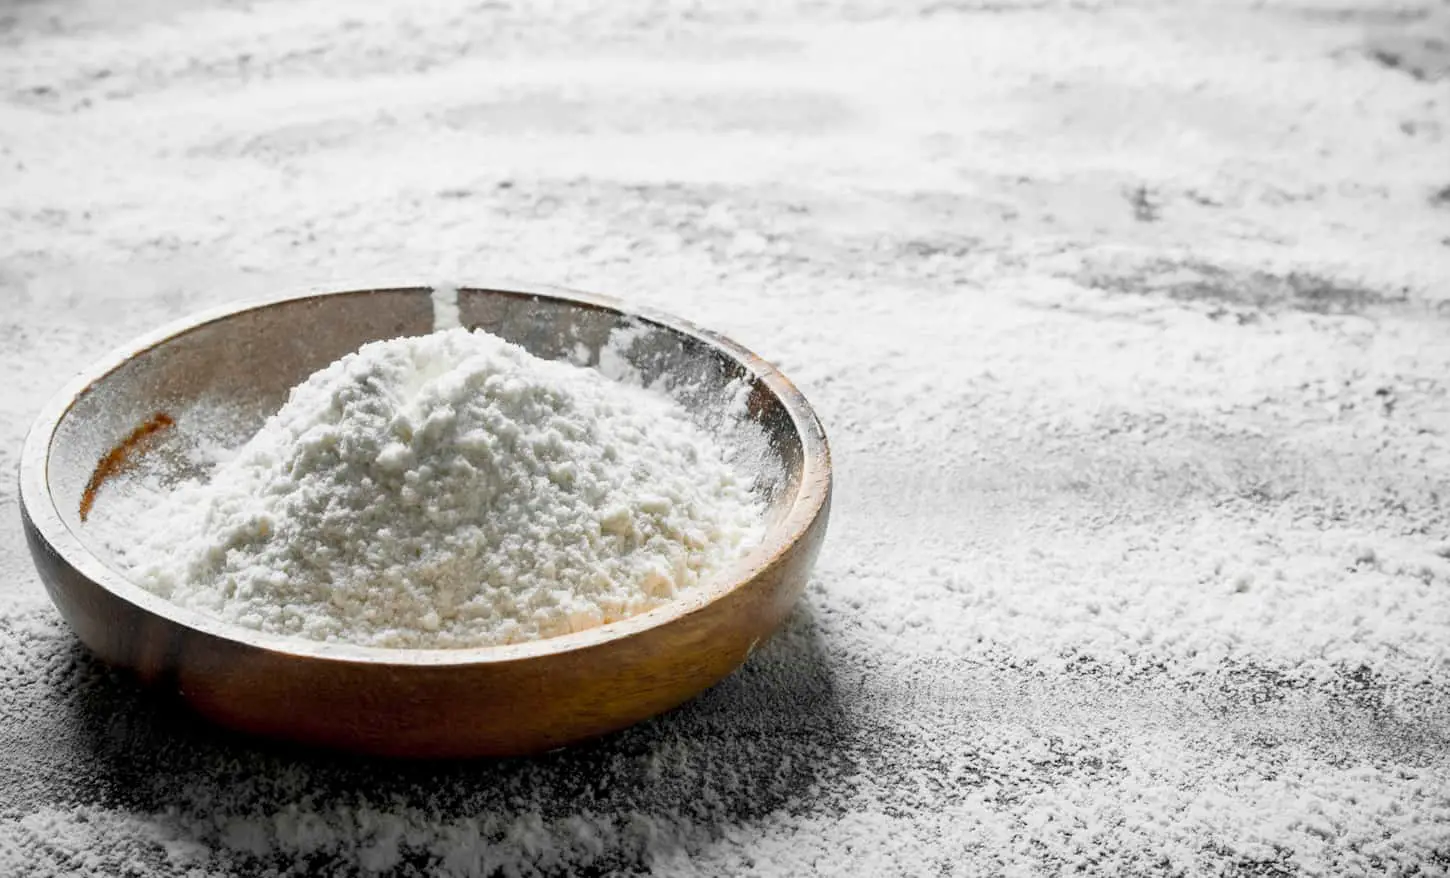
Making flour in a freeze-dryer is a fantastic idea, while freeze-drying already made flour doesn’t add much additional shelf life to storage. Freeze-drying homemade flour is a true and tested method, and it’s generally a healthier option than buying store-bought bleached flour.
What’s unique about creating our own freeze-dried flour is that we can choose which grain to use, and it will be shelf-stable for a long time.
Most people who use flour keep it in the freezer, but if it’s preserved in a freeze-dryer, it will have a longer shelf life. So, how do you make and freeze-dry flour? Let’s read below to find out.
How To Make Freeze-Dried Flour
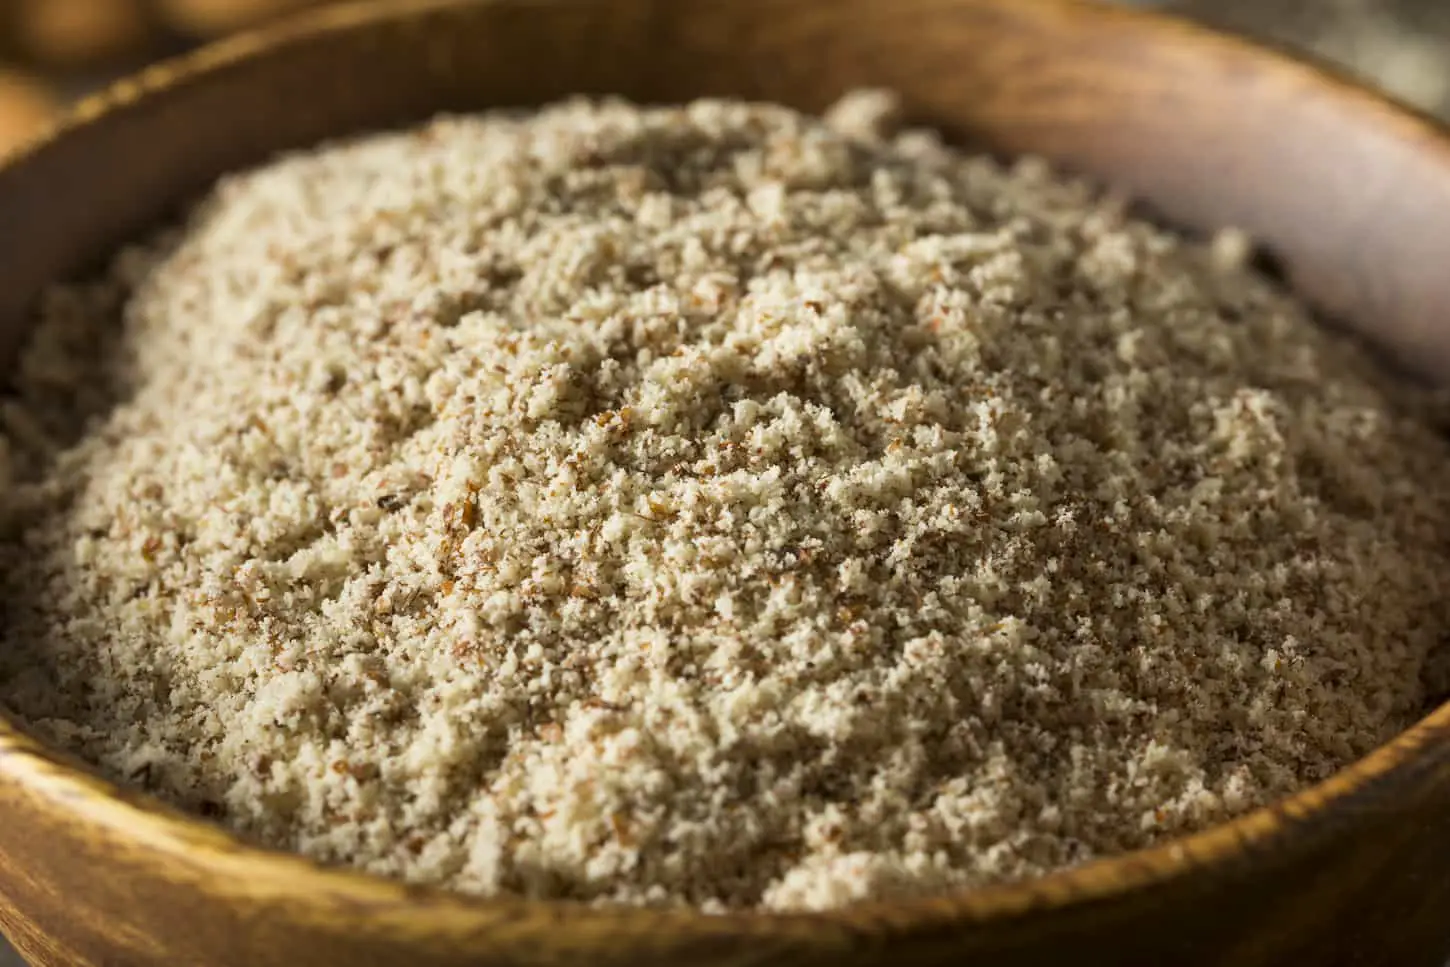
The best way to make freeze-dried flour is to sprout the chosen grain, freeze-dry it once sprouted, and then crush the freeze-dried sprouted grains into flour. Freeze-dried flour can also be made using unsprouted grain berries, but it’s far less efficient and takes more time.
We like to make sprouted wheat flour, because it’s the most efficient way to do so. Using sprouted flour unlocks a lot of extra nutrients anyway.
Instead of putting the wheat directly into the freeze-dryer, we must prepare it beforehand and freeze-dry it to turn the grain into flour.
Note: That doesn’t mean you can’t just pop the unsprouted grain berries into the freeze-dryer; you can. But freeze-drying unsprouted grains is difficult, because those little kernels are tough. It will take a lot more power, time, and patience to freeze-dry unsprouted grains. And even then, the whole batch won’t freeze-dry properly.
That’s why it’s far easier, more efficient, and more advantageous to make flour in a freeze-dryer with sprouted grains.
Here’s how to do it.
- First, sprout the grain – we can use any grain.
- Next, soak the grain of choice in water; cover the container for about 24 hours.
- After the first 24 hours, drain the water and leave it for a bit.
- From that point, add water to the grain at least twice daily.
- Make sure all the grain is damp, and drain the water container after every time it’s added. Eventually, there will be sprout “tails” growing on the grain.
- Continue the process until all the grain has “tails” growing.
- Once that’s done, drain the container thoroughly and dry it out.
- Now it’s time to freeze-dry the sprouted grain.
- Once it’s freeze-dried, you can use a food processor (or another appropriate appliance of your choosing) to turn the sprouted, freeze-dried grains into flour.
Once the sprouted grains have dried, put them into the Harvest Right stainless steel trays. For less error, follow the weight recommendations when putting the grain on the trays.
Then, what’s left to do is to wait for it to freeze-dry. Once freeze-dried, use a food processor to pulverize the grains into a fine, powdered flour.
If you don’t have a food processor, but you do have a grain mill, the grain mill should work to turn your freeze-dried grains into flour. It won’t work if you add wet sprouted grains, but freeze-dried ones should be dry enough to work.
Want to get the best grain mill out there? This is the one I have, and I love it. It’s on Amazon, so it’s super easy to order, or to get parts.
That said, the freeze-dried berries should be rather crumbly after being freeze-dried, so using a food processor or a grain mill to grind them is mostly to ensure a uniform breakdown of the kernals. If you don’t have either of those appliances, then a rolling pin can do the trick, though it won’t be perfect.
Seriously. Go get the grain mill or a good food processor!
Do you want to learn how to store your wheat safely long-term? Check out this article: Complete Guide to Storing Wheat in Food Storage.
When to Freeze-Dry Flour
Freeze-drying flour is a great option for people who want to make their own flour and store it long term. The best time to freeze-dry flour is actually before the grain berries have been pulverized into flour, but after they’ve been sprouted and at least partially dried.
The right time to freeze-dry flour is when the grain has partially dried out. It can be moist but not too wet so that water can escape when picked up. Freeze-dry the flour if other ingredients are incorporated, like flavoring or a pre-mix.
This seems like a lot of work compared to just buying flour at a store – but freeze-drying flour will help to create healthier baked goods. If desired, replace regular flour in recipes with this freeze-dried flour instead.
For those who like to put flavoring into their flour, freeze-drying is an excellent option for extending the shelf-life if using it in batches. Another option is to freeze-dry any leftover dough for another day.
Freeze-drying is an excellent option for preserving all the ingredients. Then, all we need to do is rehydrate it by crumbling it and adding water as needed. To learn more about rehydrating (reconstituting) freeze-dried food, click here.

Why Not Freeze-Dry Store-Bought Flour?
Freeze-drying store-bought flour and storing it vacuum-sealed in an airtight container (with oxygen absorber) may add some additional time to its overall shelf life, but it’s not worth the extra work. The flour would keep well on its own for quite some time anyway.
Basically, freeze-drying store bought flours, while doable, is mostly a waste of effort. You don’t get enough back to justify the costs of running the freeze-dryer in my experience and opinion.
That doesn’t mean you can’t do it. It just means you’re going to get back exactly what you put into the unit the day before. And you won’t be able to tell any difference.
So, seriously. Skip the experiment. It isn’t worth it.
How To Store Freeze-Dried Flour
Store freeze-dried flour the same as regular flour or other freeze-dried ingredients. Put the flour in an airtight container. Add an oxygen absorber. Vacuum-seal the package. Store all freeze-dried packages in a temperature, light, and humidity controlled environment for best storage results.
It is also possible to store it in the freezer. If freezing the flour, keep it in a waterproof bag as a precaution in case of a power outage.
Flour can be stored the same way as other freeze-dried foods by putting it in a mylar bag or even an air-tight container. Store it in a cool, dry part of the house, like a shelf or cupboard. Since the flour is already freeze-dried, it’s safe.
However, sometimes some pests might still find their way into the flour and decide to create a home there. To avoid this, it’s a good idea to freeze the flour.
To store it in the freezer, put the flour in any waterproof, air-tight container. Doing this will also extend its already long shelf-life.
Do you want to know more about how to store your favorite foods? Read this article: How to Freeze Dry and Store Your Favorite Foods: Guide with Pictures.
How To Use Freeze-Dried Flour
Freeze-dried flour can be used the same way as any other flour can be; it does not need to be rehydrated or reconstituted before use. It makes an excellent replacement for all-purpose flour in many recipes.
Once the freeze-drying process is complete, grind the grain berries into a flour using a grinder or a food processor to produce the powdery substance.
Unlike making regular flour, we don’t need a mill to grind the grains down. Breaking down the freeze-dried flour with our hands will easily crumble it into a powdery substance. However, we still recommend using a food processor to grind it more evenly.
Freeze-dried flour works well as a flour replacement in baked goods and is healthier than regular bleached all-purpose flour. There might be a difference in texture, but the overall flavor is still pretty much the same.
Try experimenting with assorted flavors and textures, using several types of grains to make the flour.
To match a texture more closely to regular flour, try removing ¼ of the total amount of flour in the recipe. This should bring the flavors and textures closer to the original.
For example, my kids prefer the taste and texture of white bread (I’m crying inside admitting this, but it is what it is). In any case, I’ve found that giving them bread made from red wheat won’t work. They won’t eat it. But they will eat a mixture of red and white wheat flours; I usually do a 50/50 split, and then they’re fine eating that. They like it best, though, when it’s 25% red wheat flour and 75% white wheat flour.
And if I’m using homemade, freeze-dried sprouted flour? I’m totally fine with that.
Can I Make Freeze-Dried Flour Out of Different Ingredients?
Anything that we turn into fine powder in the freeze-dryer meets the criteria for flour – these include ingredients like nuts, gluten-free grains, and fruits. Using nuts and fruits for flour gives us more possibilities for baking.
Did you know that we can make macarons with almond flour? Unfortunately, Almond flour is a bit pricey, so it might be a suitable time to start making it at home. That is, assuming you can get almonds at a good price or grow your own.
Freeze-drying fruit and nut flour will guarantee that the nutritional value stays the same.
If someone in your family has a gluten sensitivity, this could be a great way to make rice flour, or some other gluten-free flour option.
Key Takeaways and Next Steps
So, now we know that freeze-drying flour is a true and tested method, and it’s a healthier option than buying store-bought bleached flour. It’s a great way to make flour last for years, especially with our complicated lives.
In addition, we can use any grain desired, sprout it, and follow the directions above for long-lasting, shelf-stable, freeze-dried flour at home.
For additional information about how to freeze-dry various foods and all the how-tos that you’ll need for this process, please bookmark and read these guides I wrote because they’re packed full of information and links to even more information.
- How to Safely Store Freeze-dried Foods in Mason Jars (vacuum sealer)
- How to Freeze-dry Milk (Goat, Cow, Sheep, Human, Nut)
- How to Freeze Dry and Store Your Favorite Foods: Guide with Pictures
Resources
Learning from your own experience is essential, but learning from others is also intelligent. These are the sources used in this article and our research to be more informed as homesteaders.
- 宋飞. “Freeze-Dried Flour and Preparation Method Thereof.” 宋飞, 23 May 2012, patents.google.com/patent/CN102696717A/en.
- Right, Harvest. “SPROUTED FLOUR MADE EASY.” Harvest Right⢠| Home Freeze Dryers | Freeze Dried Food Storage, 11 Mar. 2021, harvestright.com/blog/2021/sprouted-flour-made-easy.
- “QTT Freezing Flour.” YouTube, 21 Jan. 2020, www.youtube.com/watch?v=cp4m_Nnq-8k.
- “Freeze Dried Bread Dough and Pizza Dough…HARVEST RIGHT Freeze Dryer.” YouTube, 29 Mar. 2020, www.youtube.com/watch?v=fw3-VzLu6H4.