If there’s one thing that I absolutely love, it’s freeze-dried goodies. Lyophilization, otherwise known as freeze-drying, not only preserves the color of food but also preserves the flavor. Freeze-drying reduces thermal damage to nutrients that are heat sensitive. But how do you freeze-dry and store foods?
Freeze-drying food is a straightforward process. Prep food to be freeze-dried and pre-freeze it on trays. Put the trays into the freeze-dryer and run them for 24 to 48 hours. Test the food to make sure it is done. Store it in a cool, dry place in an air-tight container with an oxygen absorber.
Despite how straightforward freeze-drying is, there are still a couple of things you need to have in mind to ensure the process goes smoothly. In the guide below we will give detailed tips on how to successfully freeze-dry, package and store your favorite foods.
How to Freeze Dry Food in a Freeze-dryer
In 6 simple steps, you can freeze-dry a large number of meats, vegetables, fruits, cooked meals, and even drinks. It’s not the only preservation method but it’s by far the best. Here’s a general guide on how to freeze-dry food.
- Prepare and slice food items to a uniform thickness.
- Place food items on freeze drying trays without overfilling.
- Freeze the food items in the freezer (pre-freeze) or in the freeze dryer.
- Run the freeze dryer (with alternating cycles of hot and cold, including the vacuum pump to lower the pressure in the chamber, which allows the food to undergo sublimation in the machine).
- Evaluate the end product to see if it’s properly freeze-dried.
- Remove the freeze-dried food from the trays, package the food, and store all foods properly.
Step #1: Prepare your food for freeze-drying
Freeze-drying doesn’t kill most bacteria or viruses – it renders these pathogens dormant. While it’s difficult to get rid of all the microbial activity going on in food, it can at least be lowered significantly by adequately preparing each food item before freeze-drying.
Wash your food.
Using water to wash the fruits and vegetables is just as efficient as using vegetable and fruit washes.
Vinegar, salt, and baking soda have also been shown to help reduce bacteria and do a great job at removing residue and surface dirt on fresh produce.
Remove excess water
Make sure to dry each food item with a paper towel or clean cloth to further reduce bacterial activity and to ensure that they pre-freeze properly. A salad spinner can be used to remove excess moisture from food items, or it can be placed on a cookie sheet to dry.
Cut food into small, Uniform pieces
To avoid cold spots and uneven drying time, cut large food products into uniform pieces. The food will also need to be no more than about 1 to 1 ½ inches thick, or it won’t fit into the freeze-dryer.
Tough skins and rinds don’t freeze-dry as easily. The best way to handle it is to remove the rind or peel.
However, if you want to keep the peel intact (especially if the rind is important for storage and flavor in the future) then you’ll need to maximize airflow by cutting smaller pieces. You’ll also want to poke holes in the rinds or peels.
Step #2: Place food items on freeze drying trays
Now you’re ready to freeze-dry. If you prepared the food already, then you’re mostly already there. You’ll need to load your food onto trays and store it until the freeze-dryer is ready to go.
Make airflow in the freeze-dryer easy
Good airflow is key to freeze-drying food, as no airflow will prevent freezing and sublimation. Make sure that loading the trays allows for plenty of airflow.
Step 3: Freeze the food
If you’re an expert at perfectly timing things, then you can put the trays directly into the freeze-dryer to freeze as part of the normal freeze-drying process.
However, most of us already have a load going in the freeze-dryer, so we put some plastic wrap on the trays and put them in the freezer until the freeze-dryer is available.
Pre-freezing foods like this in a freezer has three advantages.
- It means you can process more foods quickly while the freeze-dryer is running.
- It also shortens the overall freeze-drying time, as the foods are frozen and don’t have to be frozen by the freeze-dryer. You do, however, have to put the food into the freeze-dryer when it’s frozen, or you risk thawing your food.
- Because you’re using frozen foods, you lower the risk of food-borne illnesses because you’re controlling food temperature and keeping it out of the “danger zone” where bacteria thrive.
Food items can be frozen as they are or prepared into smaller pieces before pre-freezing. A freeze-dryer-sized tray or cookie sheet is great for this process; all that needs to be done is to place the food items on the tray, and then store them in the freezer until they are ready to freeze-dry.
While the food freezes, proceed with preparing the freeze-dryer. It’s important that the freeze-dryer runs for a few hours before you make use of it. Make sure it is completely frozen.
Putting food into the freeze-dryer before it reaches the correct temperature can create a risk for bacterial growth. Although freeze-drying renders bacteria and viruses dormant, microbial activity growing on the food before the preservation process can shorten the overall shelf life.
Step #4: Proceed to freeze-dry
Now you’re ready to freeze-dry!
- If you’re pre-freezing foods, you’ll need to start your freeze dryer so that it’s on a deep freeze before you pause it to add the food.
- If you’re adding fresh food, you can add it right when you start the freeze dryer. The downside to this method is that the food then is in the “danger zone” where bacteria thrive and it may increase the risk of food-borne illnesses.
If the food wasn’t already on the freeze-dryer trays, it can be transferred to a freeze-dryer-sized tray or cookie sheet any time before you put the trays in the freeze-dryer.
Note: the freeze-dryers use a special-sized stainless-steel tray, so a regular-sized half-sheet cookie tray won’t work in the freeze-dryer. We have two sets so we can pre-freeze the next load while we’ve got the current load running.
Avoid arranging food unevenly or stacking it too deeply on the trays, as this will make the food dry unevenly.
If there is no other choice than to layer, make sure to use breathable mats to separate each tier. Another alternative is to make use of the trays from the freeze-dryer, using liners so there is no sticking.
Set your freeze dryer’s controls to the correct setting for the food, based on your software and version of the freeze-dryer. You can find recommended settings and control times in your user manual.
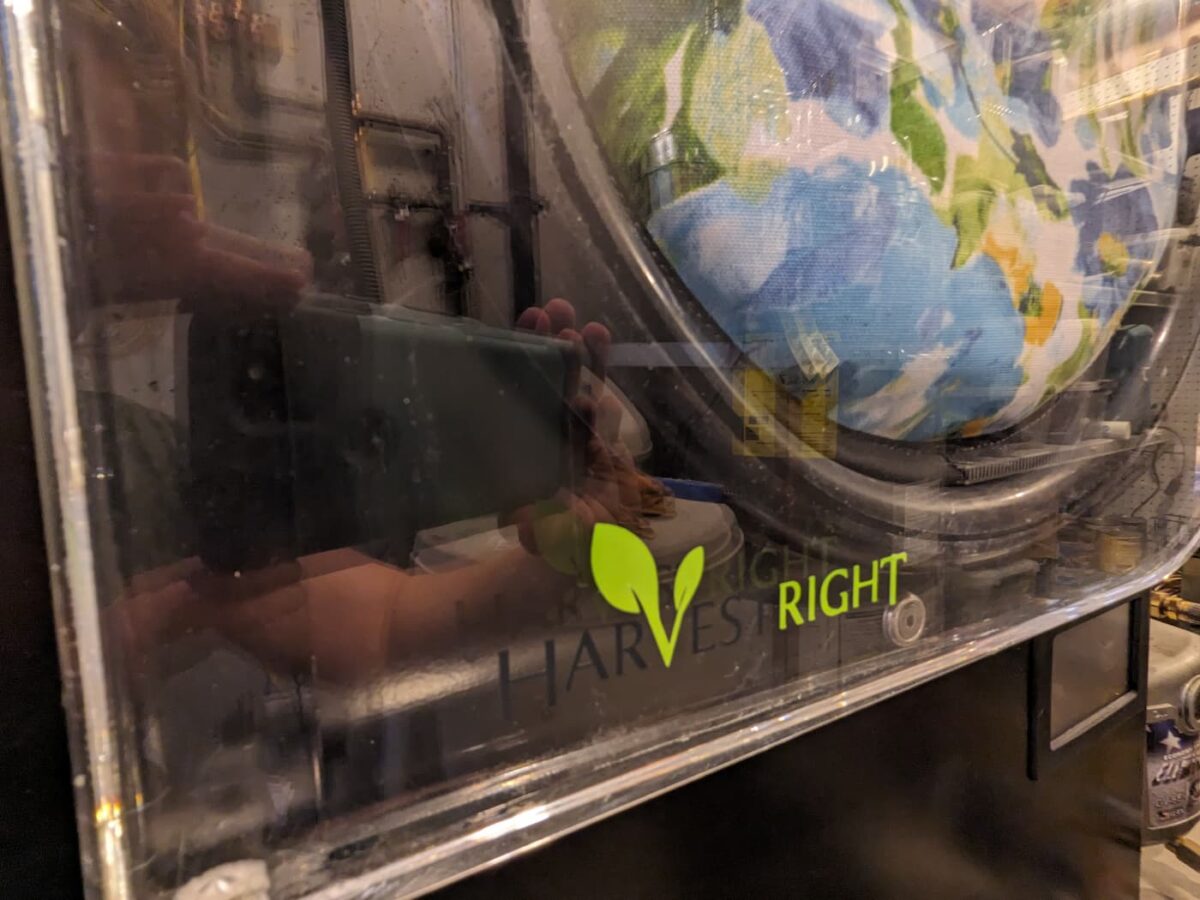
After doing this, let the freeze-dryer run and check on it from time to time. Don’t open the door to check! Just make sure the thing is still running.
I like to time my freeze dryer’s run schedule so that it will finish its run during daytime hours. I don’t want to get up at 2:15 AM to pull a load out and store it ever again.
It’s a good idea to set an alarm as well. That way, you don’t forget it in the freeze-dryer for too long, either.
How long does it take to freeze-dry food
- It should take about 24 hours to thoroughly freeze-dry thinly cut food items.
- It should take 36 to 48 hours to properly freeze-dry food items that are not so dry (or are naturally moist, like fruit) or are in large slices.
Pro tip: Set the freeze-dryer to end on a warm cycle. This way, when it’s time to take your food out of the freeze-dryer, it’s from room temperature to slightly warm. This prevents condensation from attaching to freeze-dried foods, which can ruin them.
Warm freeze-dried food doesn’t absorb as much moisture as cold freeze-dried food. This means that the warm freeze-dried food will last longer.
Step #5: Evaluate food to see if it’s properly freeze-dried
Evaluate the freeze-dried foods to ensure that they are well preserved. Properly freeze-dried food should be completely brittle and have no cold or visibly wet spots.
If the food isn’t done, put it back in the freeze-dryer and set the controls to run for another cycle or two. When it’s done again, be sure to re-check it.
Snap open at least one piece of food per tray in case the trays freeze-dry unevenly.
Once you know that the food is properly freeze-dried, transfer the freeze-dried food to a gallon-sized Ziploc immediately – don’t store them in a mylar bag just yet.
- When closing the Ziploc bag, get as much air out as possible.
- Let the food sit in the Ziploc bag for anywhere from a few hours to a day or so.
- Evaluate the food based on visible water in the bag.
If there is water in the bag, then your food is not properly freeze-dried. It will need to be eaten right away or run through another cycle, but the overall shelf-life of this food will be shorter.
If there’s no moisture in the plastic bag, then the food was properly freeze-dried and can be stored in a mylar bag. It’s safe to store for the long term.
Freeze-dried foods that passed this test will last considerably longer than freeze-dried foods that failed and had to be put through another cycle.
Step #6: store all foods properly.
Now that the food has been successfully freeze-dried and tested for moisture, it’s time to move to the next step: packaging your freeze-dried food for long-term storage.
There are several ways to go about this step; some people prefer to vacuum seal their food into mason jars, while others prefer to use a mylar bag.
Both ways work well, but keep the following pointers in mind if choosing the mason jars:
- If there is not much storage space in your pantry, then mason jars might not be the best option.
- Too much light can affect the contents of a mason jar, so make sure to store it in a cool and dark place with light controls.
- Mason jars (and glass) are air permeable, so they are not going to last as long as foods stored in Mylar bags.
- Make sure to package your freeze-dried food into mason jars with oxygen absorbers before vacuum sealing the jar.
Mylar bags are pretty straightforward to use – all that needs to be done is to store the freeze-dried food in the bags with oxygen absorbers. An impact sealer (that comes with the freeze-dryer) can then be used to seal them closed. We like to seal them twice in case one seal fails.
Labeling the storage containers or packages with the type of contents and the date they were stored is a really important step. Doing this makes locating them easier and helps ensure that each food item is consumed within the proper time frame.
We like to include both the storage date and a self-recommended “eat by” date. We know it’s a recommendation rather than a rule, but it does help us rotate our pantry.
Necessary Equipment for Freeze Drying
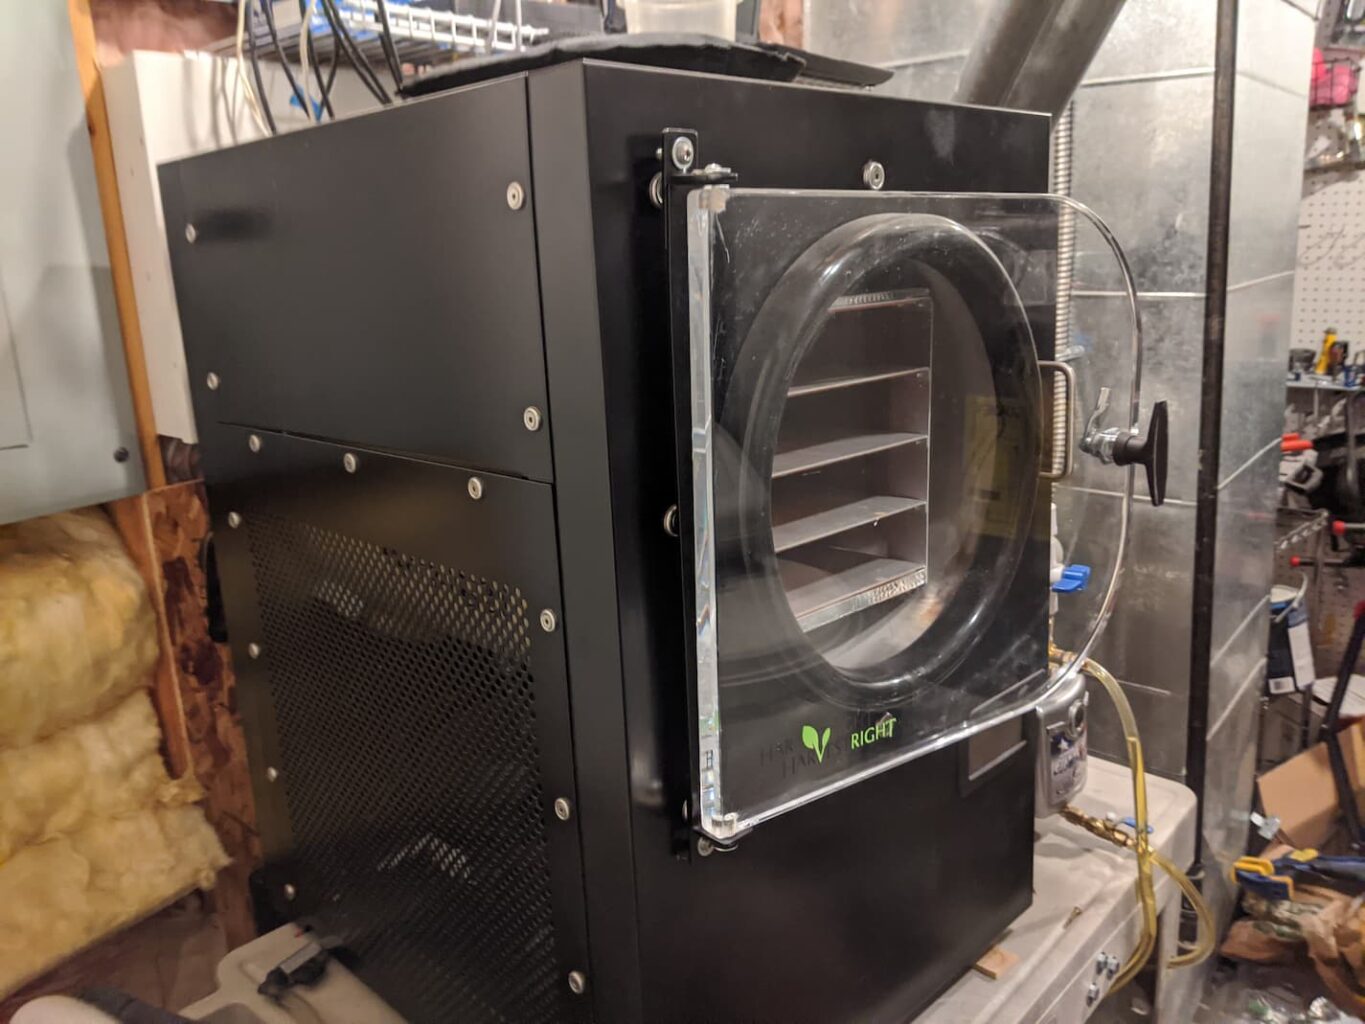
To successfully freeze dry food at home, you will need a few essential pieces of equipment. The most important item is a freeze-drying machine or freeze-dryer. This will be your primary tool for removing moisture from your food without compromising its structure, taste, or nutritional value.
In addition to the freeze-dryer, you will also need a vacuum sealer and a vacuum chamber. These tools help in the sublimation process, as they create a low-pressure environment for the ice crystals to turn directly into gas, effectively removing the moisture from your food.
Another important piece of equipment is a suitable freezer, such as a home freezer or deep freezer. This will be used to pre-freeze your food before starting the freeze-drying process. Make sure you have enough space to comfortably fit your prepared food items and maintain a consistent freezing temperature.
Here is a list of essential equipment for freeze drying:
- Freeze-drying machine: The main device used for freeze-drying food.
- Vacuum sealer: To create an airtight seal around your food for storage.
- Vacuum chamber: Where the sublimation process occurs to remove moisture from food.
- Home freezer or deep freezer: For pre-freezing your food before it enters the freeze-drying process.
Remember that investing in good quality equipment will improve the overall results of your freeze-dried food and ensure a longer shelf life. By carefully selecting and maintaining your freeze-drying equipment, you will be able to produce nutritious, shelf-stable, and delicious freeze-dried food in your own home.
Where can I find reliable freeze drying equipment?
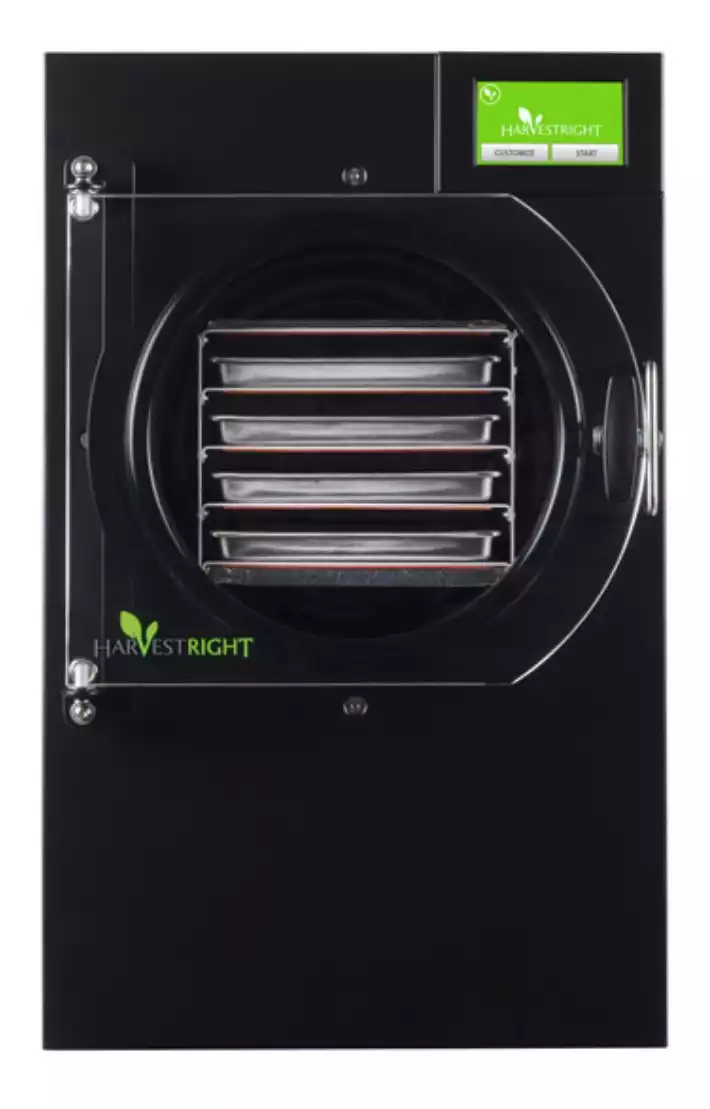
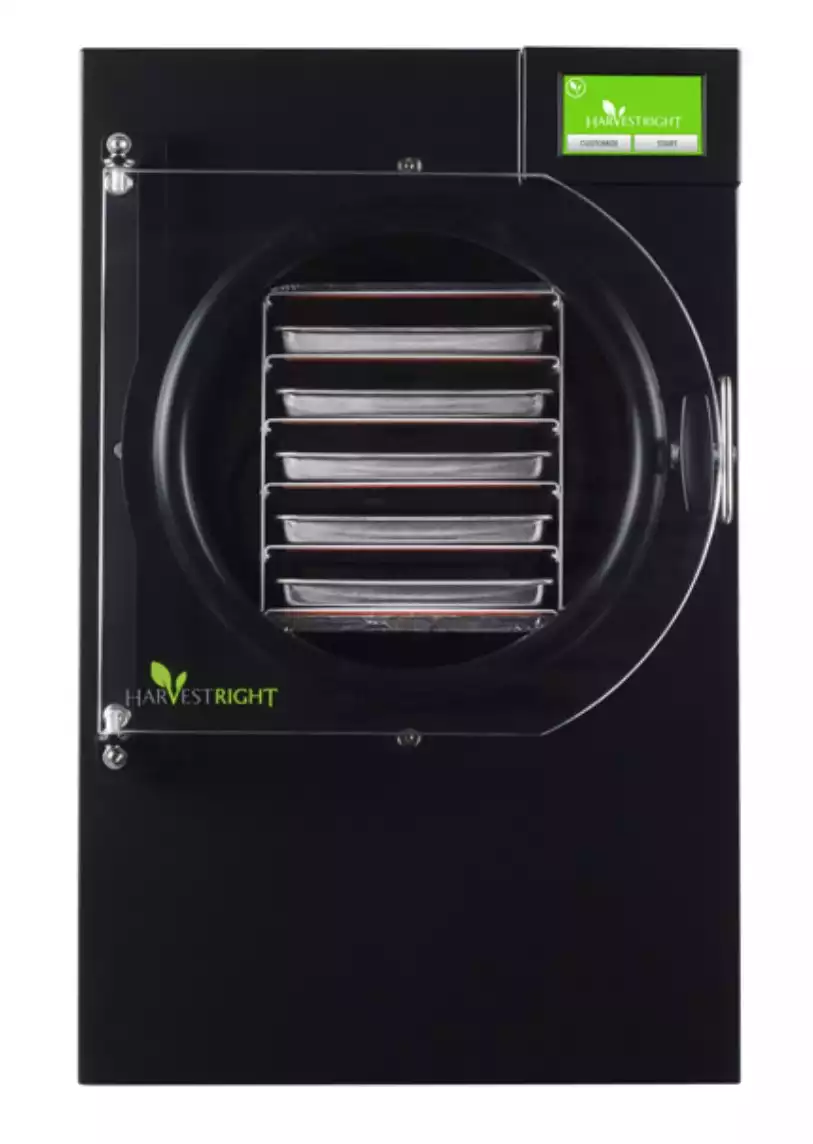
Reliable freeze drying equipment can be found through online retailers or specialty stores that focus on food preservation and emergency food supplies such as Harvest Right, who is the #1 brand for at-home freeze-drying.
|
Our Pick
|
|
|
|
4.6
|
4.9
|
4.7
|
4.8
|
|
Small
|
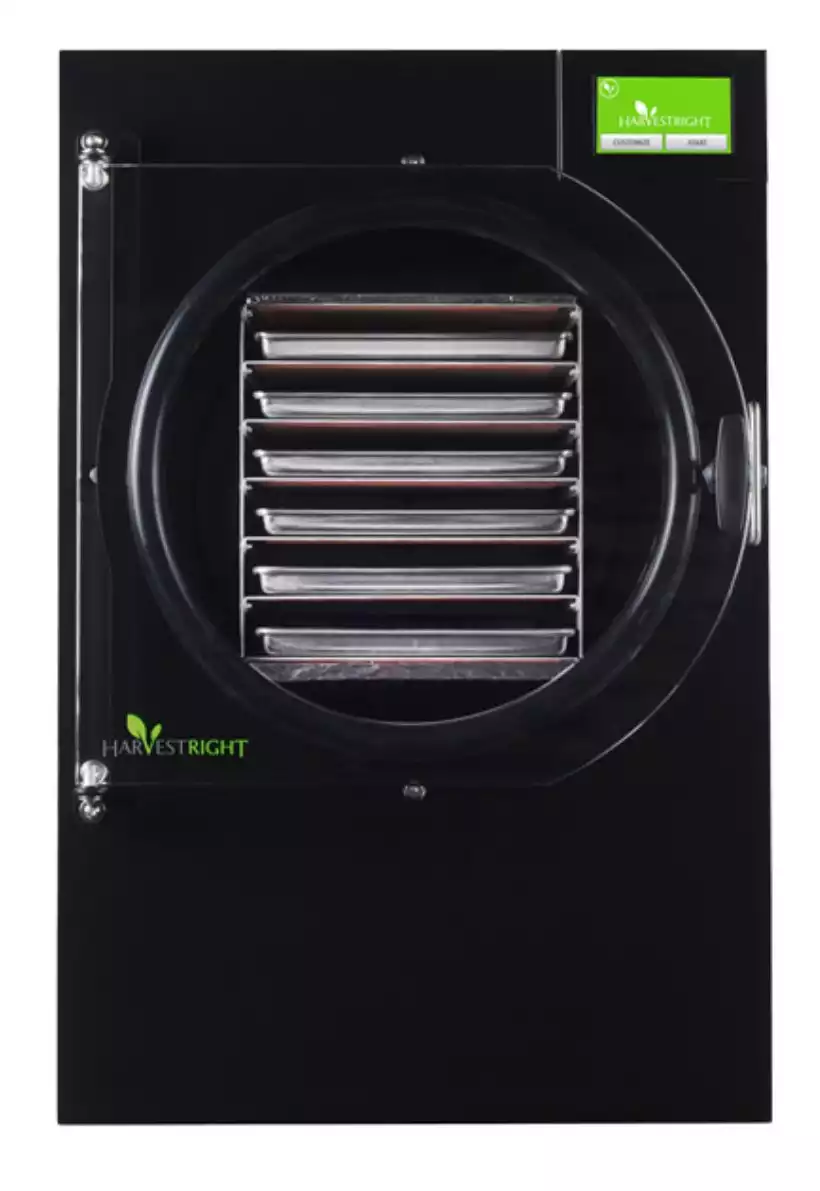
Medium
|
Large
|
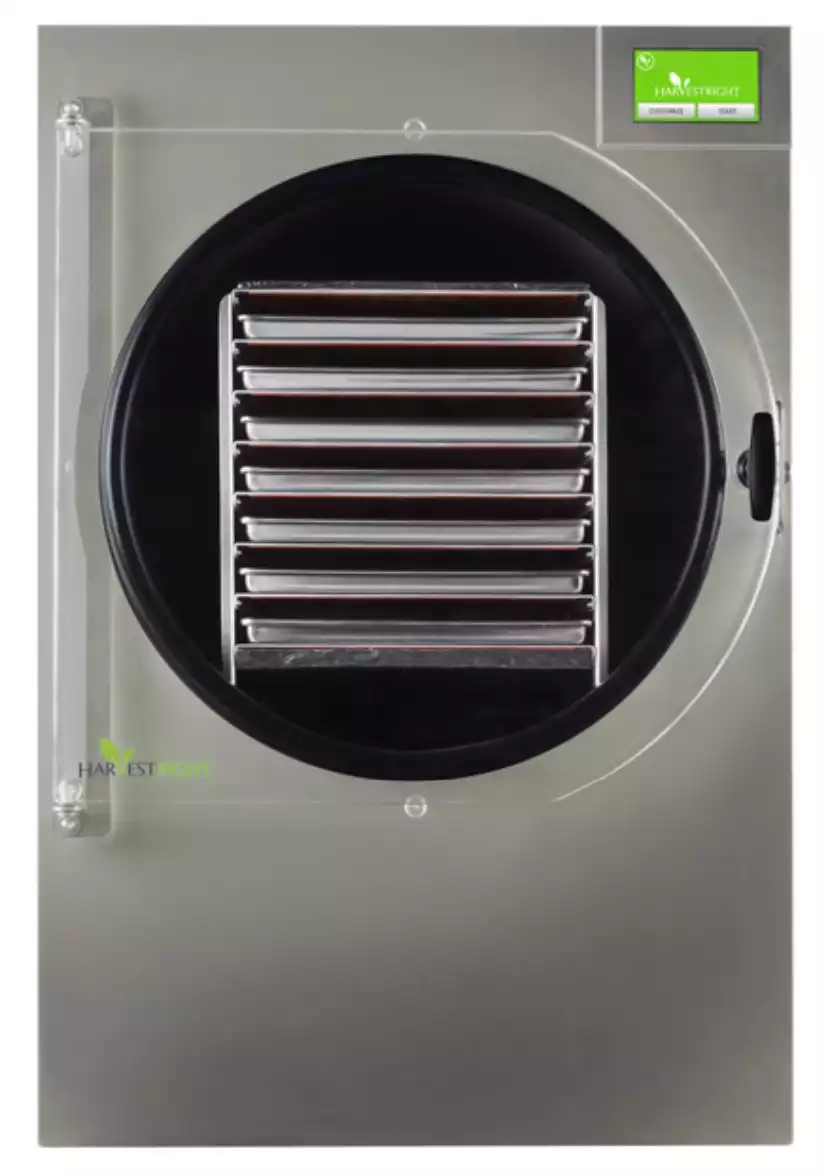
X-Large
|
|
|
|
|
|
from $2,495
|
from $3,195
|
from $3,895
|
from $5,295
|
- 4 Trays
- 6-10 pounds of food per batch
- Best for small families of 1-4 people
- Add $1,495 to upgrade to oil-free pump
- 5 Trays
- 10-15 pounds of food per batch
- Best for most families
- Add $1,495 to upgrade to oil-free pump
- 6 Trays
- 18-27 pounds of food per batch
- Best for large families or food storage pros
- Add $1,495 to upgrade to an oil-free pump
- Requires a dedicated 20-amp circuit
- 7 Trays
- 40-50 pounds of food per batch
- Best for large families or cottage businesses
- Comes with XL Premier Industrial Pump
- Requires a dedicated 20-amp circuit
how to freeze dry food at home (no freeze dryer)
The only way how to freeze dry food without a machine is with dry ice or in a freezer with a desiccant. However, to get the best results (for taste, texture, food quality, nutrition retention, and room temperature shelf-life), a freeze-dryer is required.
To freeze-dry food in a freezer, it must be frozen. Once frozen, it should ideally be loaded into a vacuum chamber to sublimate the food for best results. If no vacuum chamber is available, use a combination of desiccants (to dry the food) and a home vacuum sealer to remove as much air as possible.
Frozen-freeze-dried foods have to stay in a freezer and are not shelf-stable goods.
How to freeze dry food with dry ice
To freeze dry food with dry ice, place the food in a single layer on a tray and put it in a cooler. Then, put the dry ice on top of the food at a 1:1 ratio by weight. Loosely close the cooler lid, but don’t seal it, as the gas from the dry ice needs to escape. Leave the cooler undisturbed for 24-48 hours. The dry ice will cause the ice in the food to sublimate, leaving behind freeze-dried food.
Freeze-drying food with dry ice is like doing it in a freezer (no freeze-dryer), but a lot faster and with less chance of it becoming inedible. However, it’s still nowhere near as good as foods freeze-dried in a proper freeze-dryer.
Why Freeze-drying without a freeze-dryer doesn’t work
Freezing and drying food by other means is doable, but using dried ice or a freezer with a desiccant will not produce the same quality of food as foods processed in a freeze dryer.
I did a home experiment where I compared peaches and apples processed in 3 different ways:
- Freeze-dried (in a Harvest Right freeze dryer)
- Frozen then dried (in a freezer with a desiccant)
- Dehydrated (not frozen)
| Taste | Texture | Edibility | Meal Usability | |
|---|---|---|---|---|
| Freeze-dried (with machine) | 5 | 5 | 4 | 5 |
| Freeze-dried in freezer | 2 | 1 | 1 | 1 |
| Dehydrated | 4 | 3 | 4 | 3 |
In each case, the quality, taste, flexibility of usability, and texture were best in freeze-dried foods, then followed in second-place by the dehydrated version.
The frozen and dried (freeze-dried without a freeze dryer) versions were comparatively slimy and (in my opinion) inedible. I no joke gagged trying to eat it.
I do not recommend freeze-drying food in a freezer with a desiccant. The resulting food isn’t tasty, and it’s barely edible. I’d only eat it if there wasn’t anything else.

Frequently Asked Questions
We’re here to help! Check out our FAQs section below for answers to common questions. If we missed yours, let us know, and we’ll update the article. Contact us through our website, and we’ll respond directly to your question.
How Does freeze drying work?
Freeze-drying involves three essential steps: freezing, vacuum application, and controlled heating. For more details, read our guide here: Freeze Drying: A Comprehensive Guide.
What is the best method for freeze drying fruits and meats?
The optimal way to freeze dry fruits and meats is by using a home freeze drying machine. It freezes the food and utilizes a vacuum pump to lower the pressure in the chamber, turning the ice into gas via sublimation. This technique maintains the food’s taste, texture, and nutritional value.
Can I freeze dry food at home without a machine?
You can try freeze drying food at home without a machine by using your freezer and a desiccant. However, this method is less reliable and may not produce the same high-quality results as using a proper home freeze drying machine.
Are there any food items that should not be freeze-dried?
There are a few food items that do not freeze dry well, such as items with high oil or fat content. These include butter, and certain cuts of meat. If you attempt to freeze-dry these foods, it’s possible that they may not rehydrate well or spoil faster due to their fat content. For more information, read our guide: Best Foods to Freeze Dry: Home Freeze Dried Food Guide.
How can I properly store freeze-dried foods?
To store freeze-dried foods correctly, use airtight, moisture-proof containers or bags. Add oxygen absorbers and desiccants to maintain quality. Store the packages in a cool, dry, and dark place to extend their shelf life. Read our guide on storing freeze-dried food here.