If there is a big patch of concrete in the yard and we want to turn it into a garden, we have good news – it’s possible. What should we do with a big concrete yard?
To turn concrete into a garden, follow these steps:
- Dig out the concrete (or cover it, though digging it out is best)
- Fill the gap with soil
- Cover the soil with biodegradable, organic material
- Plan, plant, and mulch desired plant life
- Water it plentifully (or build a drip irrigation system)
If building garden beds, the process is the same aside from the fact that we fill in the beds – not a hole in the ground.
There’s much more to this topic than it seems. It turns out that spreading soil over concrete isn’t the best option and that raised beds are much better. Let’s see why.
Can You Make a Garden Over Concrete?
While pouring soil over concrete is doable, it doesn’t create sufficient soil space for a healthy root system for plants. It is better to build garden beds or remove the concrete to create sufficient root space for the plants.
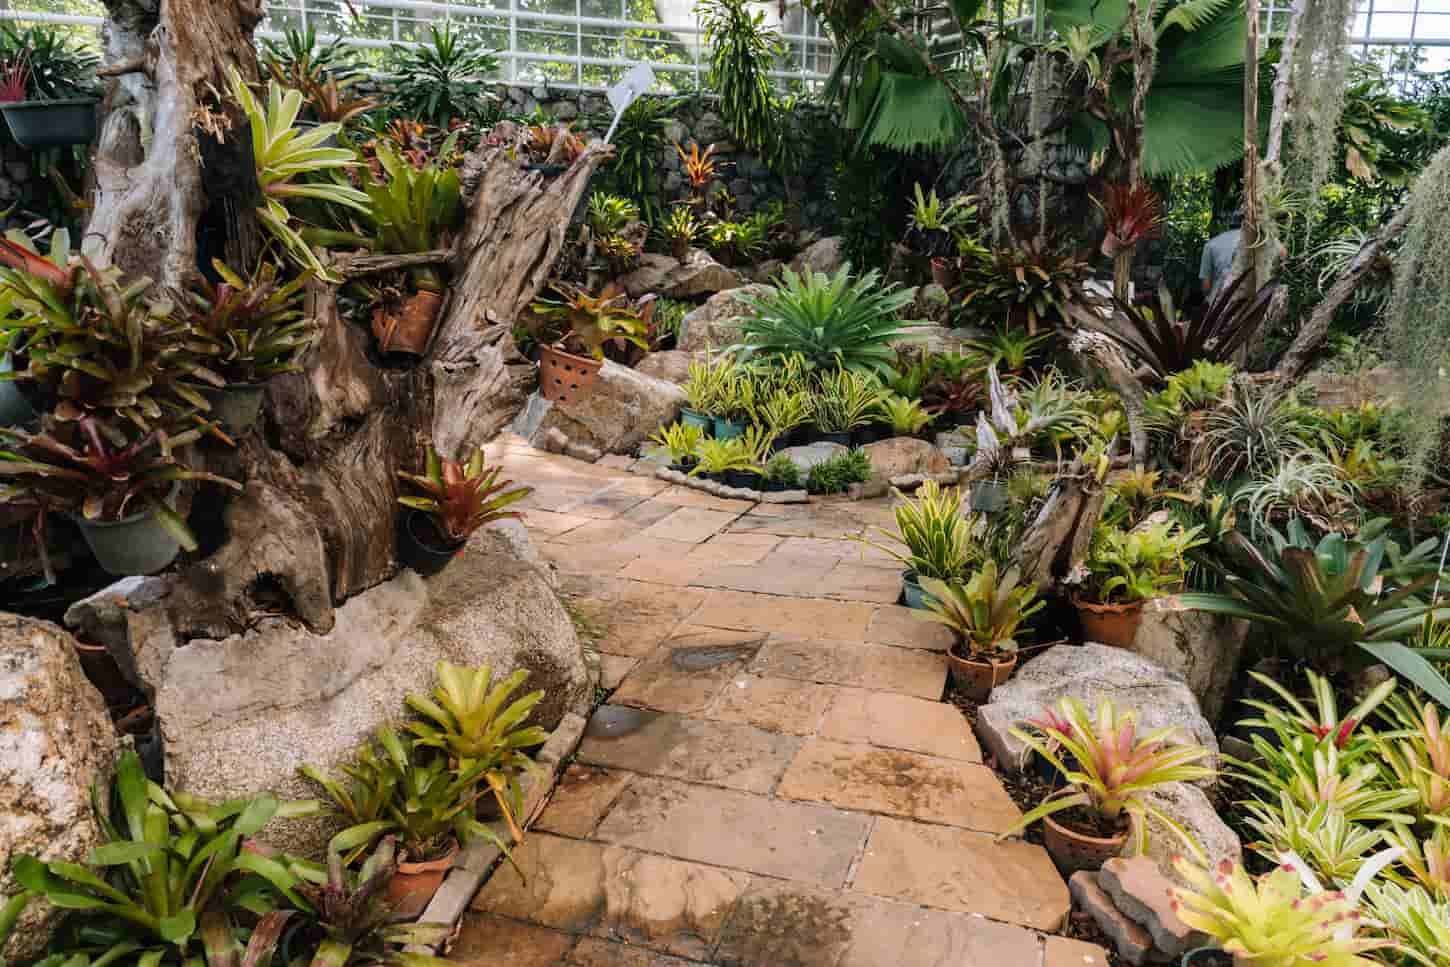
We can turn our concrete yards into a garden, and there is more than one option. Most people think they only have to unload a lot of soil over it, but we can also build garden beds, which is the easier option.
Not only is it easier for the plants to grow in garden beds rather than in a thin layer of soil, but garden beds are also easier to maintain and make less of a mess than a garden made completely out of the soil.
We’ll cover both of these options; you can follow whichever method you want!
Can Plants Grow Through Concrete?
Plants often grow through concrete cracks and spaces – especially weeds. The issue is that plants cannot grow well without enough soil or space. Concrete limits the available space for roots to grow. To grow healthy, beautiful plants, we will have to cover the concrete with a lot of soil.
This causes a headache mostly for two reasons:
- Soil doesn’t come cheap, so creating our garden is a huge time and money investment.
- Correcting even accidental design or space use mistakes will take much work and even more money to move or remove.
That’s why it’s vital that we have a solid plan before we do anything. And to make sure plants achieve their full potential, we’ll need a lot of soil – let’s see how much soil we need and how to turn a concrete yard into a garden.
How Do You Convert a Concrete Yard into a Garden?
To turn concrete into a garden, we must:
- Dig out the concrete (or cover it, though digging it out is best).
- Fill any gaps with the soil.
- Cover the soil with biodegradable, organic material. Ideally, mix this in with the soil to create sufficient root space.
- Plan, plant, and mulch desired plant life, and give it time to develop a healthy root and soil ecosystem.
- Water it plentifully (or build a drip irrigation system). A drip irrigation system is far more efficient and water-wise than other watering methods.
If building garden beds, the process is the same aside from the fact that we fill in the beds – not a hole in the ground.
Before we look at the two methods of turning a concrete yard into a garden, let’s answer the main question – how much soil do we need to turn a concrete yard into a garden?
How much soil do you need to convert a concrete yard into a garden?
This depends on what a person plants. If we are only looking to plant vegetables, a good rule is that most vegetables need up to 10 inches of soil to grow, depending on the variety, while aloe requires a foot, and trees require several feet or more.
If we want to plant trees, we need a few feet of soil depth for a tree to grow properly. Depending on the variety, you may need as many feet of soil as the tree will grow tall. So if you’re going to plant trees, trust me. Dig up the concrete. It’ll be far more economical than buying untold numbers of cubic yards of soil.
Even aloe plants, which aren’t trees, have deep roots and need at least a foot of soil beneath them.
Soil can weigh between 70 and 110 pounds per cubic foot (1x1x1 feet). We’ll use 90 pounds as an average unit of measurement.
Let’s say we have a concrete patch of 500 square feet and want to cover it in soil completely. We’ll be growing vegetables and flowers, not trees, so no more than a foot in depth is needed.
To cover 500 square feet of concrete with a foot of soil, we are looking at about 45,000 pounds of soil.
It’s really difficult to estimate soil price, as it depends on where we live, the supplier, and the type of soil, but the nursery by my house has some soil for $4 per cubic foot, so we’ll use that (soil, mulch, dirt, and wood chips are usually measured and sold in cubic feet or yards, not in pounds).
So to cover 500 square feet of concrete with top-screened soil (that’s basic soil, not even the good stuff), it will be a $2000+ investment. That’s just for the basic soil – we haven’t gotten to the plants, mulch, or irrigation system.
This calculation also doesn’t include soil delivery or spreading the soil around. Hiring workers and/or a bobcat (or another small tractor) to speed things up will increase that number. You could DIY with a shovel and a wheelbarrow, but expect a few backbreaking days.
Because of the costs and sheer labor for even 500 square feet, it would be better if we invested in garden beds and avoided turning the entire concrete yard into a garden. Garden beds are cheaper because they need less soil.
However, if you’re planting that tree, you will want to remove some concrete – at least enough for the tree. Don’t forget to remove enough concrete, so the tree has room to grow.
Remember that if you cover every square foot of concrete with a cubic foot of soil, there will suddenly be part of the yard that’s a foot taller than the rest. You’ll need to turn part of that into a raised bed or build a retaining wall so it doesn’t spread.
From architectural and practical standpoints – covering a concrete pad with soil 10-plus inches deep is not practical and borders on dysfunctional, especially without some sort of a retaining wall or liner to keep the soil in place.
TLDR: We live by a tool rental place, and renting a demo hammer (jackhammer) is $65 per day. Even if we hired a few guys to help, one day of concrete removal is still a lot less time, effort, and money than it would take to cover a concrete pad with enough soil for a vegetable garden.
Tool rental prices by you may vary, but as of writing this article, it would cost me to rent one today for a whole day. Even renting it for a week isn’t awful – it’s less than $350 at today’s rates.
What do I put on the bottom of a raised garden bed over concrete?
Putting things on the bottom of a garden bed is done to prevent weeds from breaking through and improve drainage. The concrete can be the weed barrier, but the concrete-bottomed garden bed will benefit from wood chips, straws, rocks, wool, leaves, and cardboard to improve drainage and soil quality.
Cardboard plates are especially effective – line them up at the bottom of the garden bed and then put the rest of the mentioned materials on top of them. The cardboard will degrade slowly, and weeds can’t easily break through.
The materials mentioned above are good at suppressing weeds because they’re both a physical barrier, but they also literally choke them. They don’t leave much room for air, and weeds can’t grow without air.
If your area is prone to a lot of rain or water, you may want to consider extra drainage options for any garden beds built over concrete.
How to create a no-dig garden over concrete
No-dig gardening is a proven successful method with already-established gardens when they need to get rid of weeds.
Before continuing, know that creating no-dig garden beds is easier than creating a whole no-dig garden. Turning a concrete patch into a no-dig garden is much easier than turning a regular garden into a no-dig garden.
Also, dig out the concrete if possible – don’t just cover the concrete with soil. This, however, is such a big construction job that we decided to leave it out as you’ll most likely hire professionals to get it done.
We live not far from a tool rental company and can rent a demo hammer (jackhammer) for about $65 a day. Depending on how much concrete needs removing, this could be the way to go. Hiring someone to do it can still be less than buying soil to cover the concrete.
To start a no-dig garden, we’ll need the following:
- One cubic foot of soil for every square foot of concrete
- Mulch
- Grass clippings and dead vegetation
- Leaves and straws
- Cardboard
- Compost
Step 1 – Cover the concrete with soil*
Before you start, let’s address my asterisk in the headline. I’d recommend you rethink covering the concrete. Digging it out really will save you time, money, and effort in the long run. It just sucks up front.
But if you’re determined to cover the concrete, let’s show you how to do it.
The first step is also the most difficult one. We need to spread the soil across the concrete yard evenly. Once we do, we have created the basis of our garden.
This is a physically demanding job, so we may want to at least consider hiring someone to help. Or rent a bobcat to speed things up. The soil needs to be completely flat – we don’t want an uneven garden.
Once you’ve flattened the soil, proceed to step 2.
Step 2 – Start layering
For a no-dig garden to work, it needs to have plenty of layers of decomposable materials. The first thing to lay down is the grass and dead vegetation.
That vegetation can also be weeds – as long as it’s dead. If it is weeds, ensure it’s been baked in the sun for long enough to kill any weed seeds. Otherwise, you don’t want to be using weeds as a layer.
Following that, cover the entire garden with at least 4 layers of cardboard (yes, we’ll need plenty of cardboard). It will decompose too quickly if we lay down only a single layer. This won’t affect the weeds; we need cardboard to choke the weeds.
After the cardboard, add about three inches of compost, followed by leaves and straw.
Step 3 – Water plentifully
These materials need to start decomposing, and nothing speeds decomposition up like water. Water the new garden well and leave it alone.
Step 4 – Wait
The most boring part of the process is waiting – since no-dig gardening is a cold process, it will take a lot of time for everything to decompose. Once it does, though, the garden is ready for planting.
It can take more than 6 months for everything to decompose!
If you’d like to read more about no-dig gardens, the University of Florida has a great resource on no-dig gardens at this link.
How to Build a Raised Bed Over Concrete
Choose the spot to build the garden. Take measurements and plan how much space is needed. Build the frame and legs, and fill the bed with soil and mulch. Beds can be raised as high or low as desired and can be small and moveable or large and stay in place as needed.
I support and prefer this gardening method over burying an entire concrete yard (or pad) into a garden because it’s cheaper, makes less of a mess, and is easier to maintain.
Garden beds are only inferior to digging out concrete for very large plants or trees.
Here’s what we’ll need.
- Tools (most of the tools will be determined by the garden bed materials). Think drills, a saw, screws or nails, hammers, etc.
- Some material for building the raised garden beds.
That’s all we need. If desired, build a garden bed on wheels. But if we’re set on the position we want the garden bed to take, build one that doesn’t have wheels.
Wondering if the garden bed material matters? I did a year-long experiment for you – and you can read the results here.
Or, if you’d rather the TLDR (“too long, didn’t read” the article, aka “just give me the summary!”), here you go. The material doesn’t matter a ton. Use what’s easy, available, and not treated with chemicals or dangerous.
You can use untreated, unpainted hardwood planks – don’t use pressure-treated wood, railroad ties, or wood containing copper sulfate, creosote, Cuprinol, or Penta chlorophenol-containing wood – because it’s going to leech into the plants, and Cornell says it’s dangerous (and I agree, because of solid science!).
Wheels are only useful in case we need to move the bed. Now we’ll get into the actual building steps.
Step 1 – Choose a spot
Unless we’re building a garden bed on wheels, the spot chosen for it will be permanent. While we can move it if needed, it’ll take a lot of manpower.
Choose wisely!
Step 2 – Measure and plan everything
Know what you’re growing, know how much space the plants need, and make plans accordingly. Smaller plants, such as onions, need about 4 inches of space between one another.
Medium-sized plants, such as spinach, need about 6 inches between one another.
Very large flowers and vegetables, such as lettuce, need about 10 inches between one another.
This applies to vegetables – we can’t plant trees or large plants in garden beds (unless they’re small trees and very deep garden beds).
Step 3 – Build the frame and the legs
Cut and connect the sides with corner attachments before adding the legs. Don’t forget to add a leg in the middle of the bed if building a large bed – otherwise, the weight of the soil might break through the bottom.
Make sure that the screws aren’t too long or too wide. Otherwise, they could break through the wood.
There isn’t much more to building wooden garden beds – it’s a very simple, straightforward job.
Step 4 – Fill the bed with soil and mulch
Once the bed is where we want it to be, it’s ready to get filled with soil. We don’t need more than a foot of soil in height, and once it is filled, add mulch, leaves, straw, cardboard, and compost in the order explained in the previous section.
Water the garden bed and let the organic material decompose into rich, beautiful soil ecosystem that will sustain a gorgeous garden.
What Else Can I Do with My Concrete Yard?
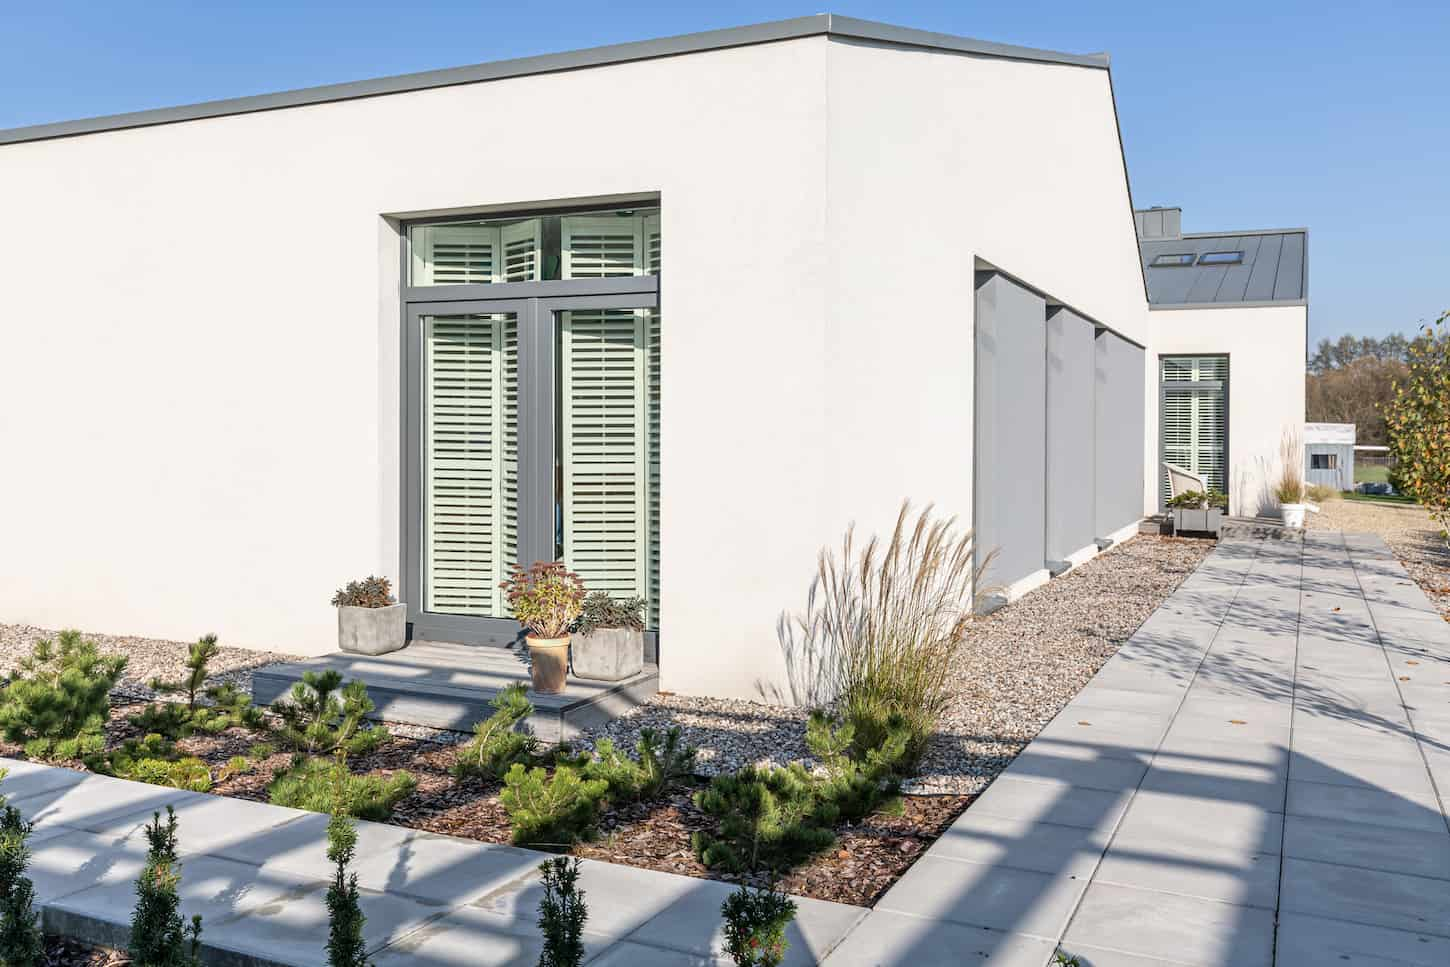
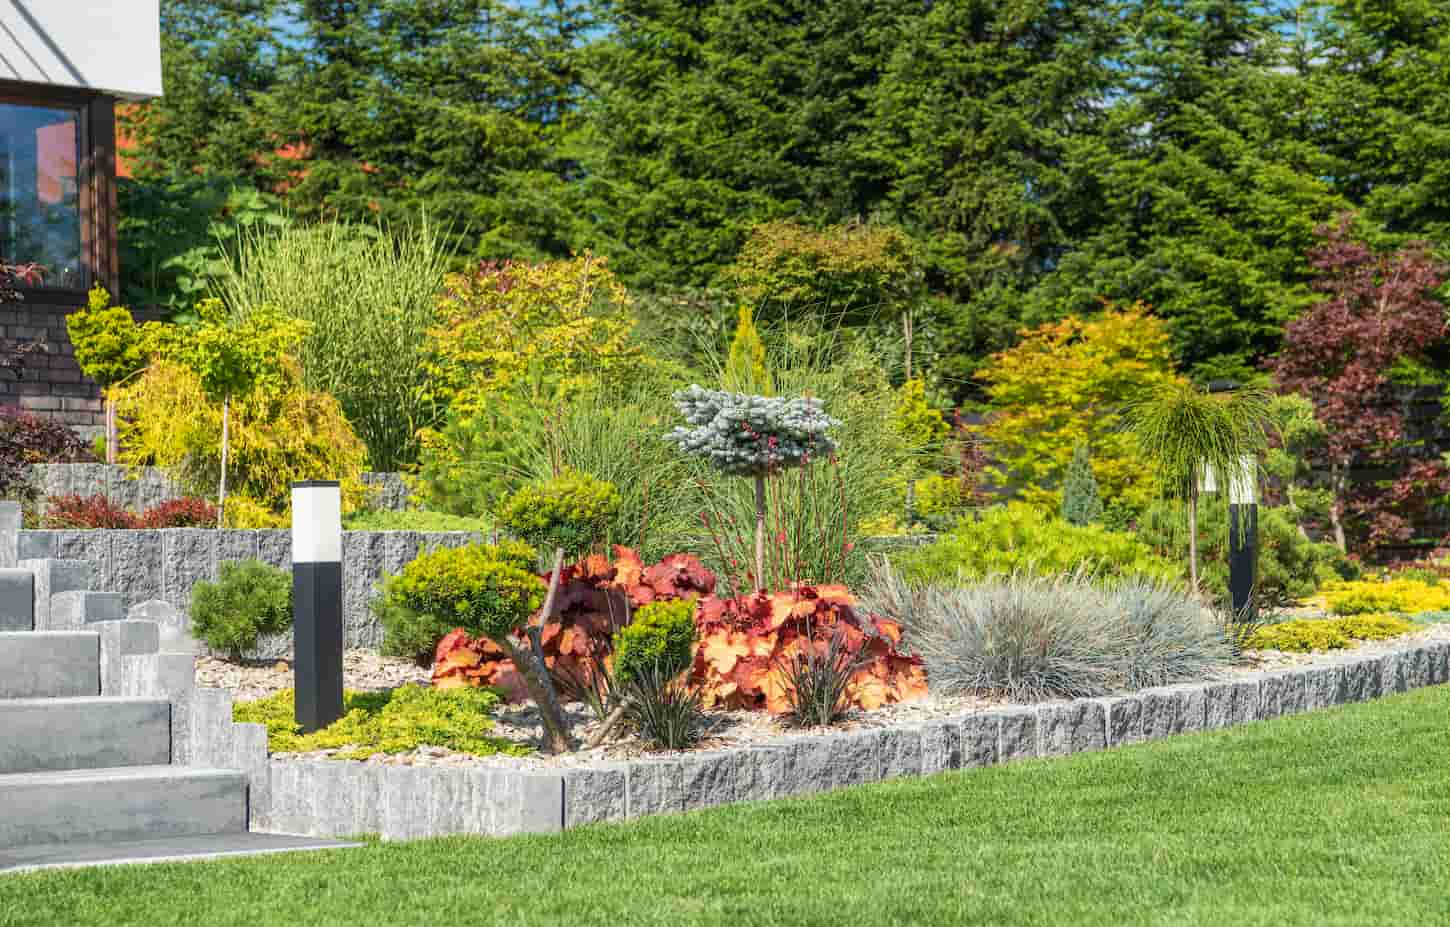
If turning it into an open garden or a garden with raised beds is not an option, consider turning it into a pool or a basketball court. We can also turn it into a minimalist, rock, or meditation garden without many plants. A pergola with potted plants and a hammock is another option.
Use sand, gravel, and stones to make a modern garden. Add a few plants in small patches of soil that will add color to the garden. Combine that with a few lounge chairs around a fire pit, and we will have a very modern (and minimalistic, plant-wise) garden.
If I get a vote on your garden… add a hammock and put it in a good, shady spot that still gets enough light to be a cozy ready nook. But I don’t get a vote, so do what you want.
Also, if we’re not thinking about a garden for the sake of gardening but because we don’t like the way concrete looks – we can install stone slabs or an artificial lawn.
Can I Landscape Over Concrete?
Homeowners can landscape over concrete. Not only can we cover the borders with garden beds or a thin layer of soil, but we can also add landscaping stones to concrete.
This makes it more approachable, as concrete can sometimes look boring.
Can I cover the concrete with dirt?
The concrete can be covered with dirt. If we want to plant small plants that do not need deep soil for rooting, cover the concrete with 4 inches of dirt and plant them. This is not ideal, though, as a deep layer of soil would work much better for planting.
Can I grow grass over concrete?
We can grow grass over concrete – grass needs a thin layer of soil, so it is easier to grow than other types of plants requiring deeper soil layers.
When Should Concrete Be Removed Before Planting a Garden?
To turn a concrete yard into a garden, the best option would be to remove the concrete – not just pour soil over it. Depending on the size of the concrete and potential demolition costs, however, it may be more economical to leave the concrete in place.
However, this is a labor-intensive process, and depending on how it is done, it could be expensive (especially if you hire a bunch of guys to do it rather than doing it yourself).
If you go the DIY route, you could hire a demo hammer for cheap (it costs, as of writing this article, $65/day at the tool rental shop down the street from my house). Hiring a few guys to haul the concrete could run you several hundred bucks, and dumping the concrete chunks at the dump will run another few hundred, depending on how many loads it takes.
So depending on how you do the job, it could run anywhere from $150 (for a small concrete pad) up to thousands of dollars (for a large amount of concrete).
It’s worth pricing out removal and hauling before you start the job.
Concrete can be removed just before you add the soil or months before – it makes no difference.

What’s the Best Way to Remove Concrete from a Garden?
The best way to do this is to hire a professional crew. They have experience and, perhaps even more importantly – tools that make this job easy. The next best way to remove concrete is to DIY and hire handymen to help with the aspects that DIYers need help with.
I’m going to go out on a limb here and assume you don’t have a jackhammer handy. We sure don’t!
Buying a jack or demo hammer for a one-off project is costly. So, if it’s out of the budget, rent a jackhammer and do it on your own. It will take a long time, though, as it’s a repetitive process of jackhammering, sledgehammering, and shoveling concrete until it’s completely clear.
Pro tip: you can usually hire some handymen or day laborers to help with this kind of thing, although your mileage will vary depending on their skill and if they’ve got licensing and insurance. Always do your due diligence!
Depending on your tools, plan, and team, you can expect this project to take days or weeks to clean out the concrete!
Key Takeaways and Next Steps
How do we turn a concrete yard into a garden? Either build raised garden beds (the cheapest and all-around simplest option) or break out the concrete in the yard and fill the hole with soil.
We can also cover the concrete with soil, creating chaos in the yard as everything will be uneven. Okay, so I don’t recommend this route unless the other options won’t work.
Remember that soil isn’t cheap, and neither is breaking out concrete, which is why you need to mull this over carefully.
Garden borders look fantastic around any garden. Here are some ideas: 17 Low Maintenance Garden Border Ideas to Know Of!
Resources
Learning from your own experience is essential, but learning from others is also intelligent. These are the sources used in this article and our research to be more informed as homesteaders.
- Communications, Ifas. “No-Dig Garden Beds – UF/IFAS Extension.” (C)Copyright 2017, UF/IFAS, sfyl.ifas.ufl.edu/lawn-and-garden/no-dig-garden-beds.
- “Making a Raised Bed Garden.” Cornell, chemung.cce.cornell.edu/resources/making-a-raised-bed-garden.
