Have you found yourself with more turnips than you know what to do with? A crucial part of running a successful homestead is learning how to preserve your produce and create variety in your diet. Keep on reading to find out about the different methods you can use to make your excess turnips last for ages!
Turnips can be stored for 3 to 5 days in the fridge, up to a year in a freezer, up to 3 to 5 years if dehydrated, and up to 25 to 30 years if freeze-dried. Turnips should be stored in airtight containers, though they may also need to be submerged in water if stored in the fridge.
There are three main methods that we’ll be discussing today, namely freezing, dehydrating, and freeze-drying. We’ve drawn up a handy table to help you decide which method would suit you best. The table will include the fridge information for convenience, although we won’t talk about that in any depth in this article.
| Method | Longevity | Equipment Required | Perfect for: |
|---|---|---|---|
| Fridge | 3 to 5 days | A fridge | Turnips that will be used quickly. |
| Freezing | Up to 1 year | A freezer | Soups, stews, and purees. |
| Dehydrating | Up to 3 to 5 years | Dehydrator | Light snacking, salads, soups, and stews. |
| Freeze-drying | Up to 25 to 30 years | Freeze-drier | Snacking, salads, soups, stews, etc. |
Let’s talk more in-depth about making your turnips last for ages!
What Can I Do with Too Many Turnips?
Too many turnips are a perfect recipe for storing them for later, giving some to friends or neighbors who will appreciate them, or enjoying as many fresh turnips as possible. Thus, “too many turnips” is a blessing rather than a problem.
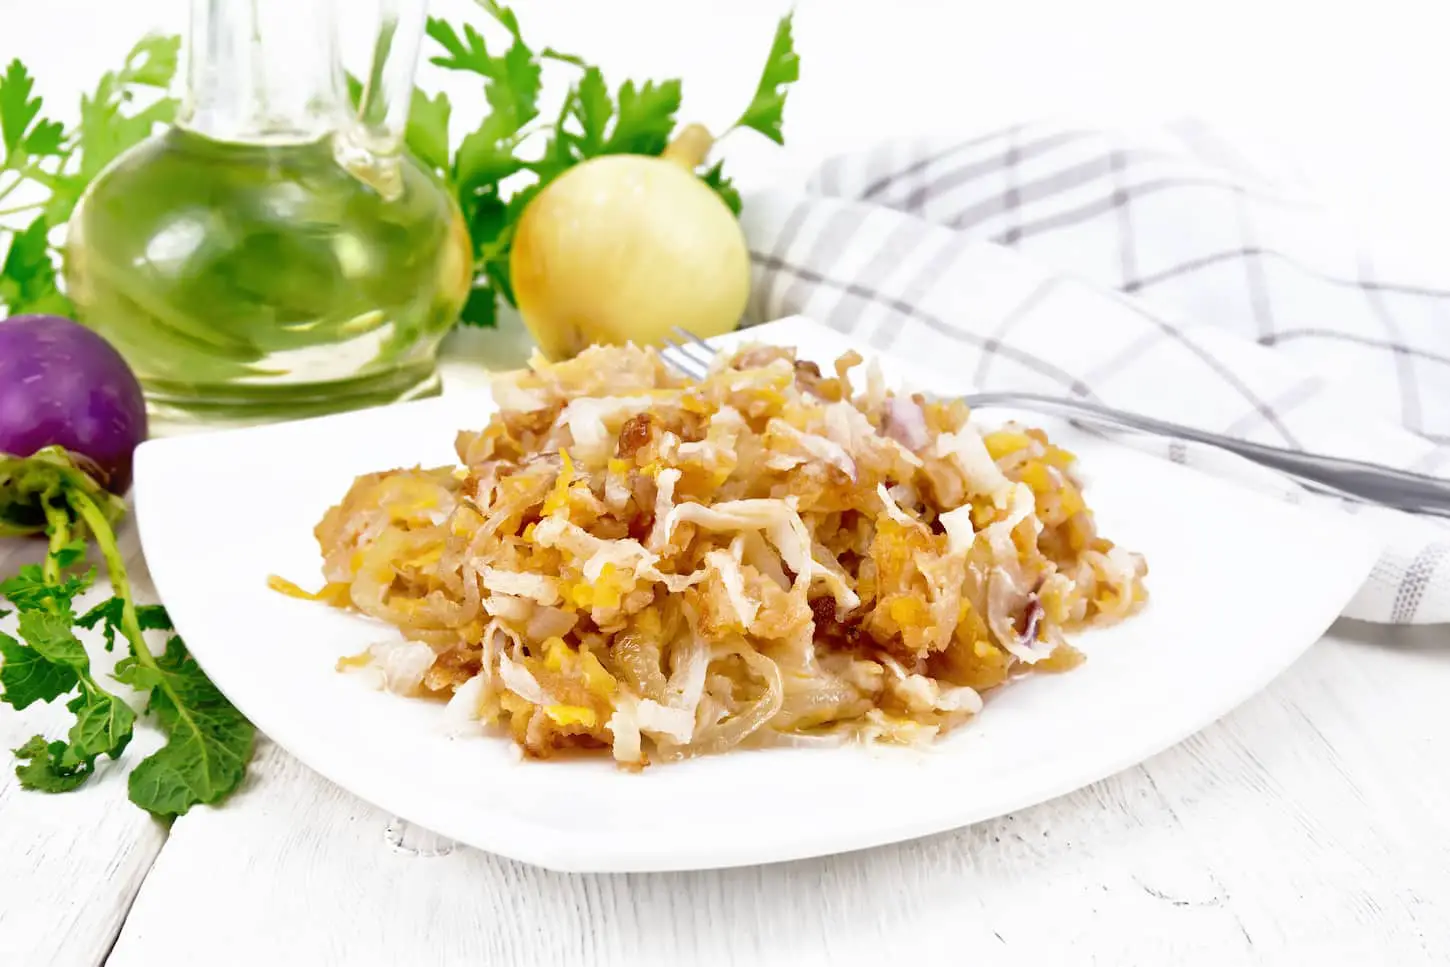
In the summer months, a good crunchy turnip can turn a bland, boring salad into a vibrant, nutrient-packed side. In the colder months, your freeze-dried turnips can add tons of earthy flavor to a soup or stew. And all year round, you can enjoy healthy dehydrated turnip chips!
Turnips have a lovely earthy flavor, and if you leave the skin on it can be wonderfully bitter! This makes it ideal for homemade preserves which you can spread on toast for breakfasts or as an artisanal addition to a trendy charcuterie board.
If you’ve really got more turnips than you could ever possibly eat, consider giving them away to friends, family, neighbors, and your local food bank or homeless shelter. Kindness goes a long way!
Need some help knowing which storage method is best for you? Here are some articles I’ve written to help you know the difference between each of these storage methods.
- Freeze Dryer VS Freezer – 7 Differences That Matter
- Freeze Drying vs Canning: What You Need to Know
- Freeze Dry VS Air Dry: 8 Differences that Matter
- Freeze Dryer Vs. Dehydrator: What’s the Difference?
How to Freeze Turnips for Storage
Turnips are usually washed, peeled, and parboiled for the best long-term storage in a freezer. Raw, whole turnips don’t freeze well, and freezing them whole can give turnips a grainier, grittier texture. Turnips can be frozen raw and avoid texture changes if they are sliced, diced, shredded, or grated. Frozen turnips can last in a deep freezer for up to a year.
Freezing turnips for a few months isn’t as easy as simply tossing them into a freezer. You have to properly prepare your turnips to prevent them from going bad. If done right, your turnips will taste as though they’re fresh from the ground even a year later!
Thoroughly wash and peel your turnips to begin. You will want to cut away any leafy green bits and any parts that feel soft or smell bad. After ensuring that your turnips are clean and healthy, cut them up into inch-long cubes. Next, boil your turnip cubes for approximately two to three minutes before blanching them.
Blanching is a technical way of saying ‘dump the turnips in ice-cold water to stop the cooking process.’ This locks in the freshness for longer and keeps the turnips from developing an unwanted soggy texture. You can store your turnips in mason jars, or any durable airtight container, and place them directly into your freezer.
You can also freeze raw turnips, though they do a lot better if they’re shredded, cut up, diced, or grated first. That way, they don’t develop the grainy, gritty texture of improperly frozen root vegetables.
Ever wonder why your vegetables thaw improperly when frozen? Read this article we wrote next! This is Why Your Frozen Vegetables Thaw.
How to Dehydrate Turnips
Turnips can be dehydrated in a dedicated dehydrator or in an oven at a low temperature for about 4 hours, though the total time involved will vary depending on how dry someone desires the dehydrated turnips to be.
Offsetting the initial cost of having to buy a dehydrator, is the amount of use you can get out of dehydrating various fruits and vegetables. Dehydrated fruit makes an amazing snack. Dehydrating your turnips is a great way to lock in all the goodness that a turnip has to offer.
Begin by following the exact same steps as if you were freezing the turnips.
- First, thoroughly wash and peel the turnips. Slice away the roots and stems and any parts that feel rotten.
- Next, you’ll want to slice your turnips into slices that are about a quarter of an inch thick before blanching them.
- Blanching involves dropping the turnips into a pot of boiling water for a few minutes and then immediately dunking them into an ice-cold bath.
When the turnips have been drained, you can begin to place the slices on your dehydrator trays, while taking care to leave a gap around the edge of the tray. Set your dehydrator to 150 degrees Fahrenheit or 65 degrees Celsius. After an hour, reduce the heat setting to 135 degrees Fahrenheit or 57 degrees Celsius and leave the turnips to dehydrate for another three hours.
After four hours in total, remove the turnips from the dehydrator and allow them to rest. They will go through a process called ‘conditioning’ during which the turnips will visibly crisp up. After five to ten minutes, you can store the turnips in an airtight container.
If you like your turnips drier, then you will want to leave them in the dehydrator for longer, though 12 hours is too many for turnip bits. I find that 5 hours is about right for my needs in our Excalibur dehydrator.
Do you need a new dehydrator, or just want to know which one I use? This is the Excalibur dehydrator I use, and it’s available on Amazon here. There is an updated version of it here, but the standing-up thermometer won’t fit under our cabinets, so we stick with our older model.
How to Freeze-Dry Turnips
Turnips can be freeze-dried raw in slices, pieces, or shredded, though the flavor is better if they are blanched first. Turnips can be run in a freeze-dryer on standard settings. They freeze-dry best with other foods that won’t give off any flavors that will affect the turnips.
Freeze-drying your food sounds extremely futuristic but it’s actually a lot more achievable than you think. There are now many home freeze dryers on the market and these machines can offer quite a bang for their buck. Freeze-dried foods can keep for much longer than other preserved food without as much hassle as canning or pickling.
Turnips can be freeze-dried in any state, raw or cooked. However, it is recommended that you blanch them to lock in the freshness and texture.
If you want to blanch your turnips prior to freeze-drying them, begin by peeling, slicing, and boiling your turnips for a few minutes. As you may have guessed, we are going to be blanching the turnips before preserving them. Blanch them in ice water.
Spread your partially cooked turnips onto the freeze-dryer tray and pop them into the machine on a standard cycle.
When the cycle is done, it’s very important to store the turnips in an air-tight vessel. If freeze-dried food encounters moisture from the air, it will rehydrate and not stay preserved for much longer. What a waste of time and good turnips!
Pull the turnips out on a warming cycle to avoid pulling cold trays out that will attract condensation.
We like to put our freeze-dried foods into a Ziploc baggie for up to a day after to test for moisture levels. That way, we aren’t accidentally ruining any of our long-term foods. After a day, properly freeze-dried foods get put into Mylar bags with oxygen absorbers and sealed for long-term storage.
If you don’t have a freeze-dryer already, make sure you read this article I wrote about 17 Reasons You Need a Freeze-Dryer.
How to Store Turnips at Home
The best way to store turnips at home is in a method that your family will enjoy and that fits your budget. Families who like turnips stored long-term but want flexibility in the use of turnips will benefit from freeze-drying turnips for storage.
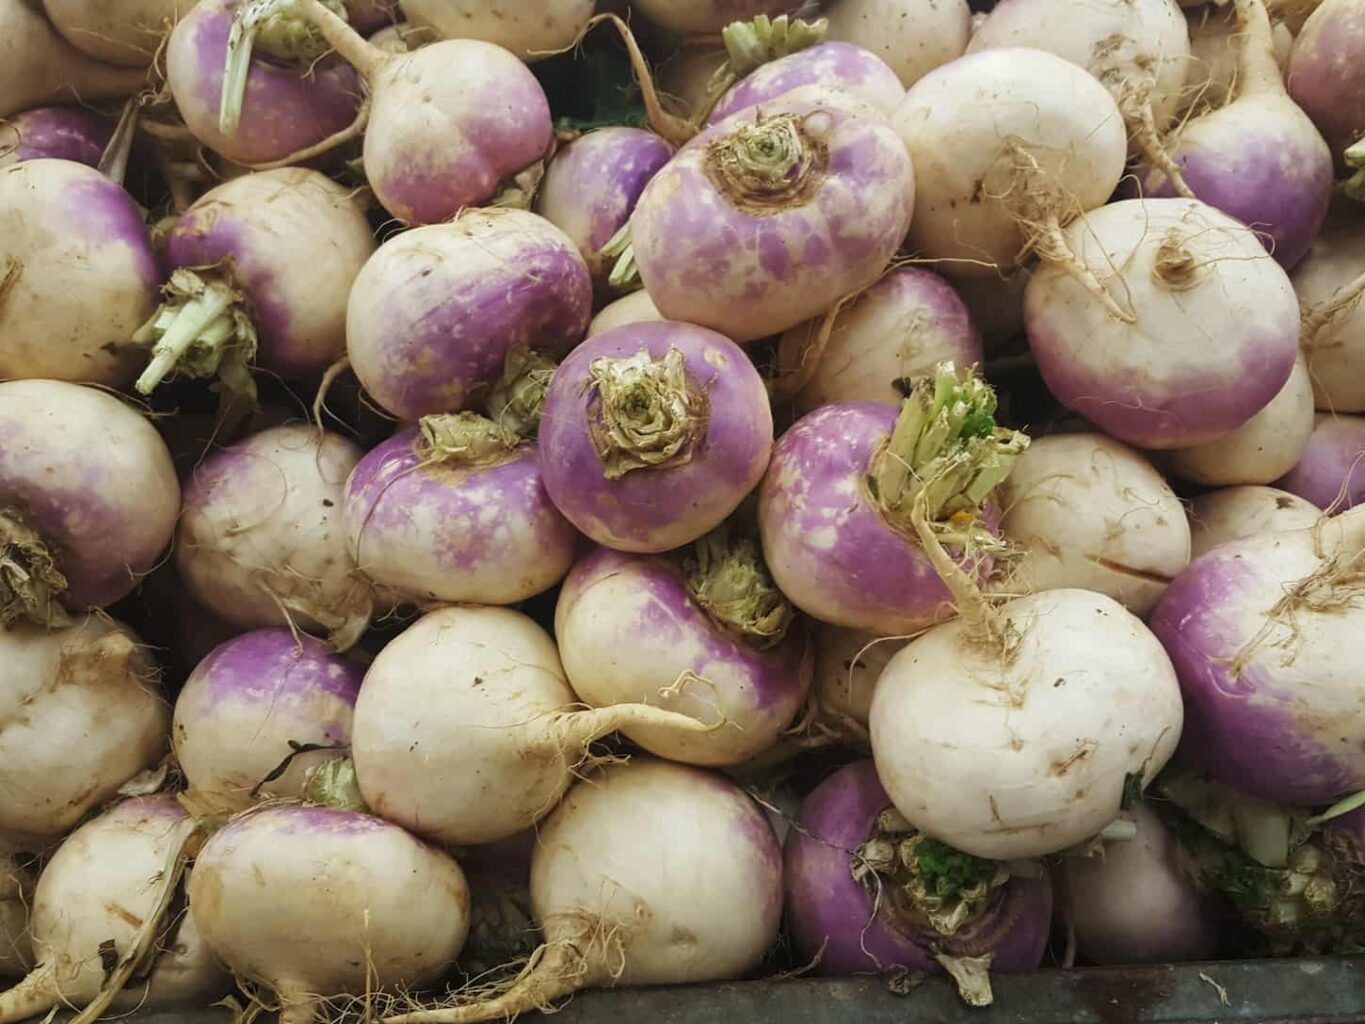
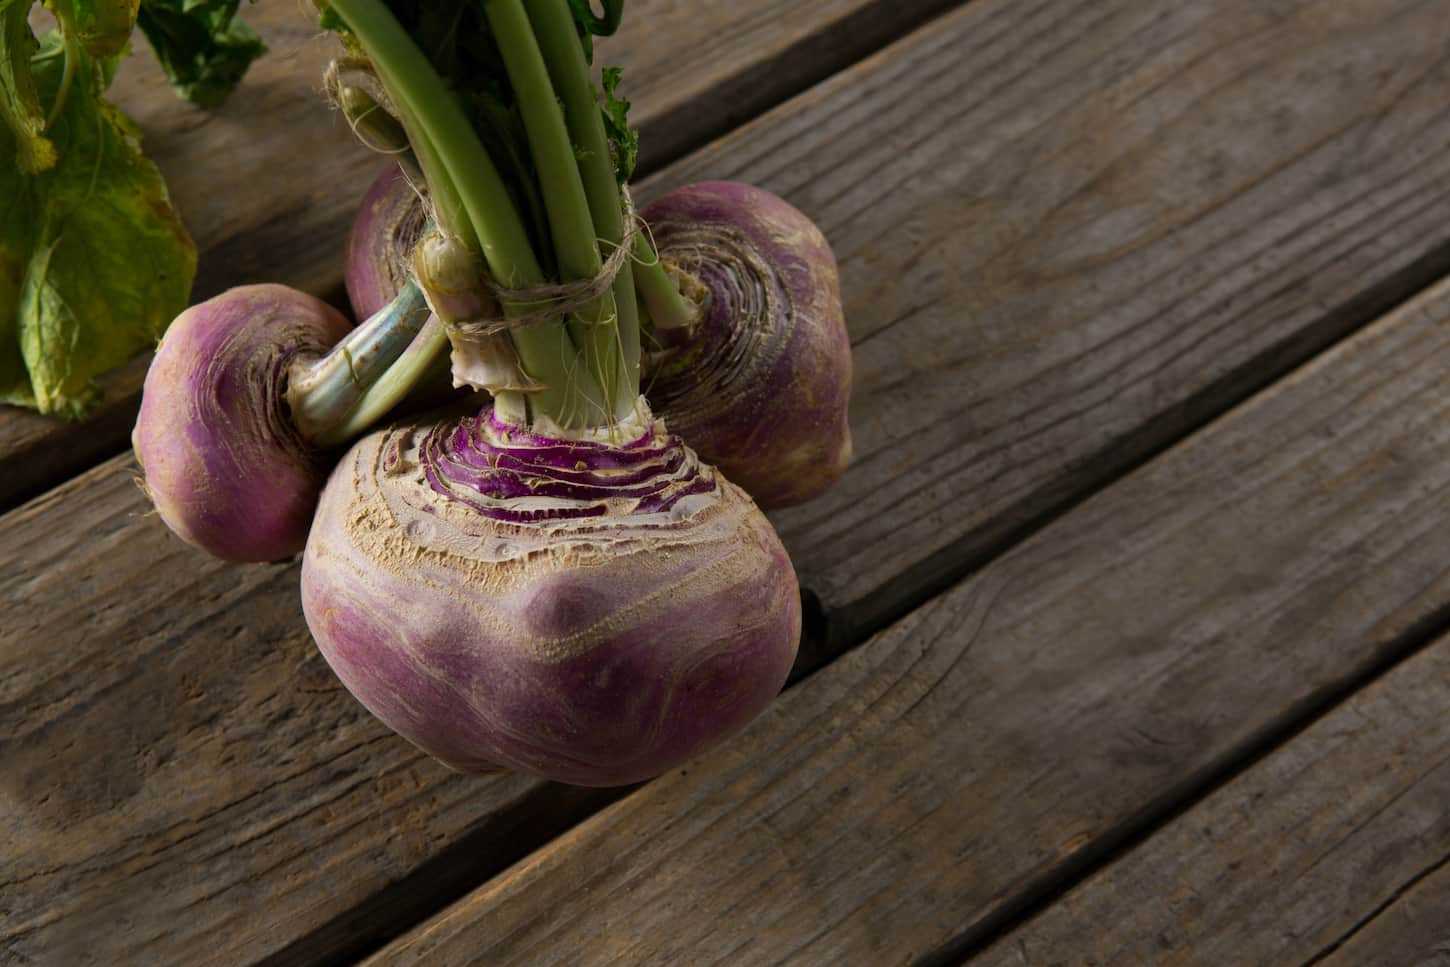
The turnip plant consists of the root and the leafy greens which are visible above ground. To effectively store the turnip, you will have to immediately separate the root from the leaves and use them individually.
Unfortunately, the leafy greens should be consumed as soon as possible, ideally within a week of harvesting. You can store these in the fridge in ordinary plastic food storage bags. Take care not to overfill the bags to prevent bruising and overcrowding.
The root of the turnip, however, can keep for much longer depending on how you preserve it. You can simply wash and store them away in the fridge like with the leaves. However, this will only keep your turnips edible for around two weeks. Consider wrapping the roots in a moist towel before placing them in the fridge if you want your roots to stay fresher for longer.
What is the best way to store root vegetables?
The best way to store root vegetables depends on the length of time for which they need to be stored. Freezers are a great way to store turnips for up to a year, while freeze-dried turnips can last up to 25 to 30 years when stored properly.
For longer storage when you don’t have a freeze-dryer, you can try the sand technique. This involves storing your roots in a box of sand or sawdust.
- Begin by wiping or misting the sandbox with water until it is fully damp.
- Next, lay your turnips in the box whilst taking care to place them all top side down. It is very important that the turnips do not touch each other either.
- Cover the turnips with a light layer of sand, sawdust, or peat moss.
- Place the sandbox in a cool area and spray a light mist of water over the entire box every few days.
This method of storage originated in medieval times and remains one of the best ways to store your root vegetables with minimal effort needed.
Other ways to store turnips
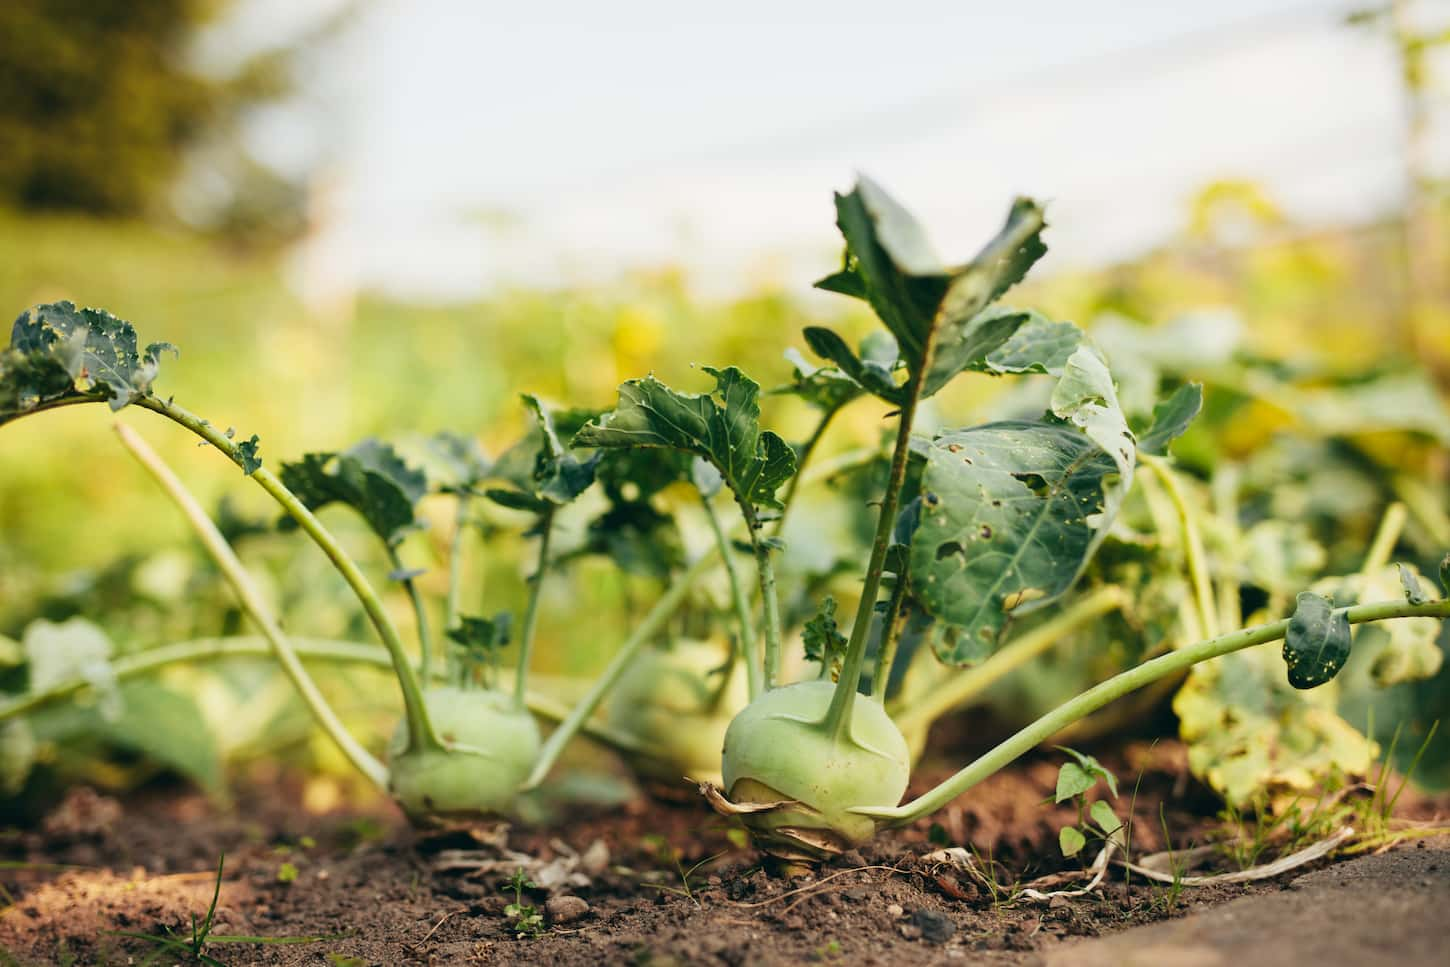
Another easy way to store turnips is to delay harvesting them, though this only works if the ground temperatures are sufficiently cold. Turnips should be covered with straw. Harvesting turnips this way may become extremely difficult if the ground freezes.
The easiest way to store your turnips involves no extra prep work at all. In fact, you won’t even have to harvest the roots to keep them from spoiling.
Leave your turnips exactly where they are in the ground and simply cover the tops of your turnips with straw.
Bear in mind that this method only really works if the weather is colder, and you aren’t expecting to encounter any unpleasant weather conditions like storms, floods, and heavy winds.
Lots of snow or temperatures low enough to freeze the ground can also make things difficult. The frozen ground won’t destroy the turnips, but it’s a lot like putting them in the freezer, and you may end up with grittier turnips.
How Do You Keep Turnips from Rotting?
The easiest way to keep turnips from rotting is to store them properly after harvesting in a cool, dry place. Try to throw away any turnips that are growing mold and check for soft, squishy spots while firmly feelings your turnips.
Surprisingly, turnips can start to go bad if you repeatedly reheat them. Try to only cook as much as you need for your meal and only remove turnips from storage if you’re going to use them at once.
Knowing how to prepare your turnips before beginning any preservation process is extremely important. Invest in a set of good-quality knives, peelers, and a large pot and strainer.
Learn to recognize signs that your turnip is going bad, such as foul smells, softness when squeezed, and signs of mold. Depending on how much time you have on your hands, what your budget is like, and your favorite turnip dishes, storing your turnips for long periods of time doesn’t have to be difficult!
Next Steps
Now that you know more about storing turnips, the next step is to know how much of the nutritional value stays onboard your stored items. That way, you’ll know that they are reliable, safe, and good to eat even in the future.
So go give this article I wrote next: Are Freeze-Dried Foods Just as Nutritious? Let’s See! In it, I’ll walk you through exactly how much of the various nutrients stay in freeze-dried foods compared to fresh foods.
