Canning is a popular process for processing and storing food at home, and canning berries is a good option for long-term storage. Because of the long-lasting finished product, many people wonder how to can berries.
Here is how to can berries with either boiling water canners or pressure canners:
- Inspect and prepare the canner
- Fill the canner with water and load the jars
- Turn up the heat and boil the jars at the appropriate temperature for long enough
- Let the jars cool down
- Store the jars
There’s so much more to canning, though. Different foods require different boiling times at different altitudes, and we must store them properly. Read on to learn how to can berries!
How To Can Berries: Regular Water-Bath Method
There are two methods of canning – the water-bath method (considered traditional) and the pressure-canning method. The water bath method is sometimes also called boiling water canning.
Before we get into the nitty-gritty of canning, here’s some general information about these canners. They’re usually made of aluminum, and to can successfully, the canner needs to be deep enough to have at least one inch of boiling water over the top of the jar during the canning process.
Preparation
To can berries, you’ll need the following:
- A boiling water canner (with a lid)
- Jars and fitting lids
- A jar lifter
- A water thermometer
- Cooling racks
Step 1 – Prepare the canner
Before we start canning, fill half of the canner with clean water. We may need to adjust the amount of water once we place the jars inside – there should always be at least one inch of water above the jars.
Start the heater and let the water get to 180°F – this is the standard canning temperature for hot-packing fruit.
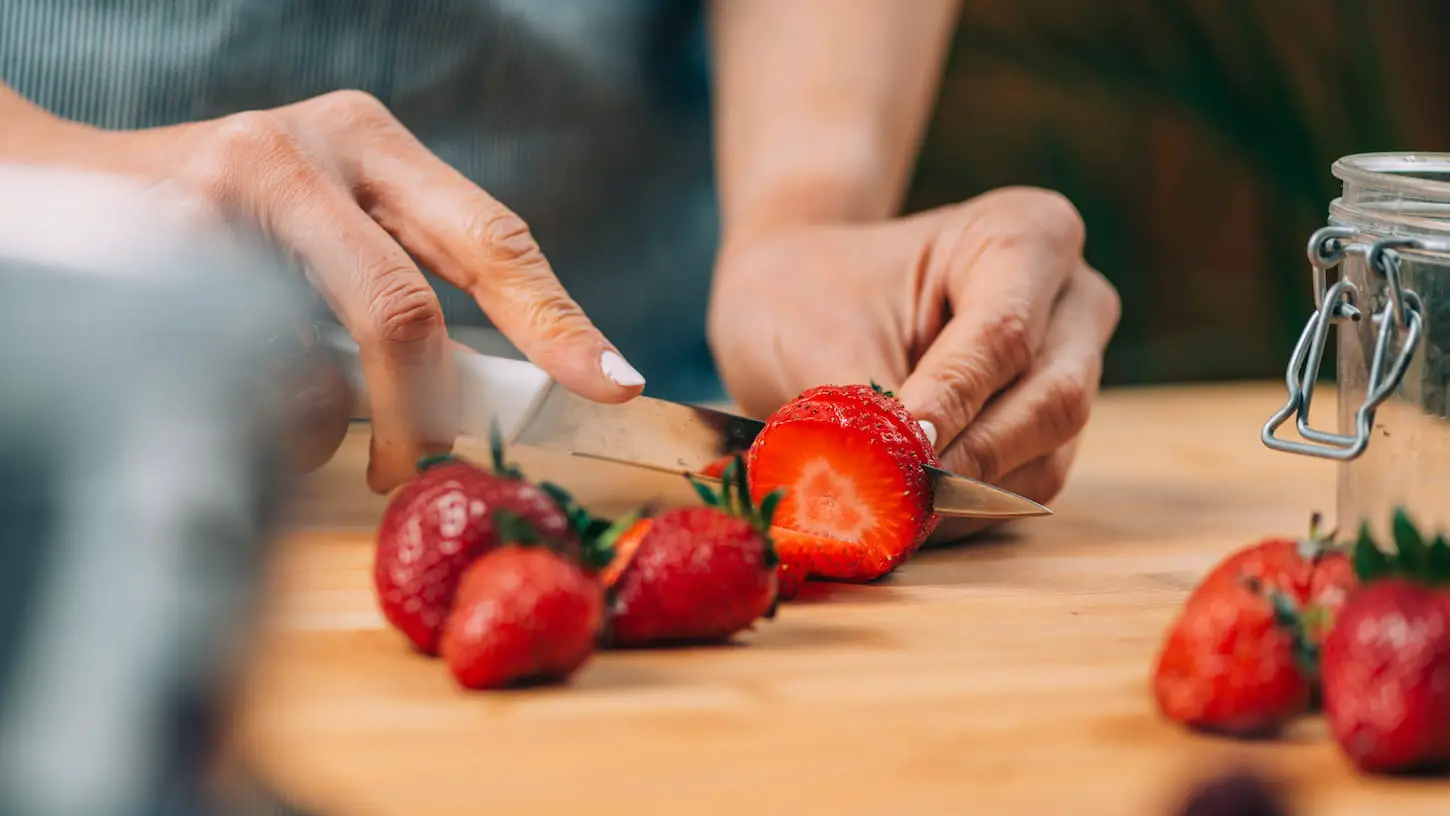
Step 2 – Prepare the berries
Wash the berries to get them ready for canning. Take those off and/or cap the berries if they have stems. Some berries may also need the tails trimmed off, so be aware of that.
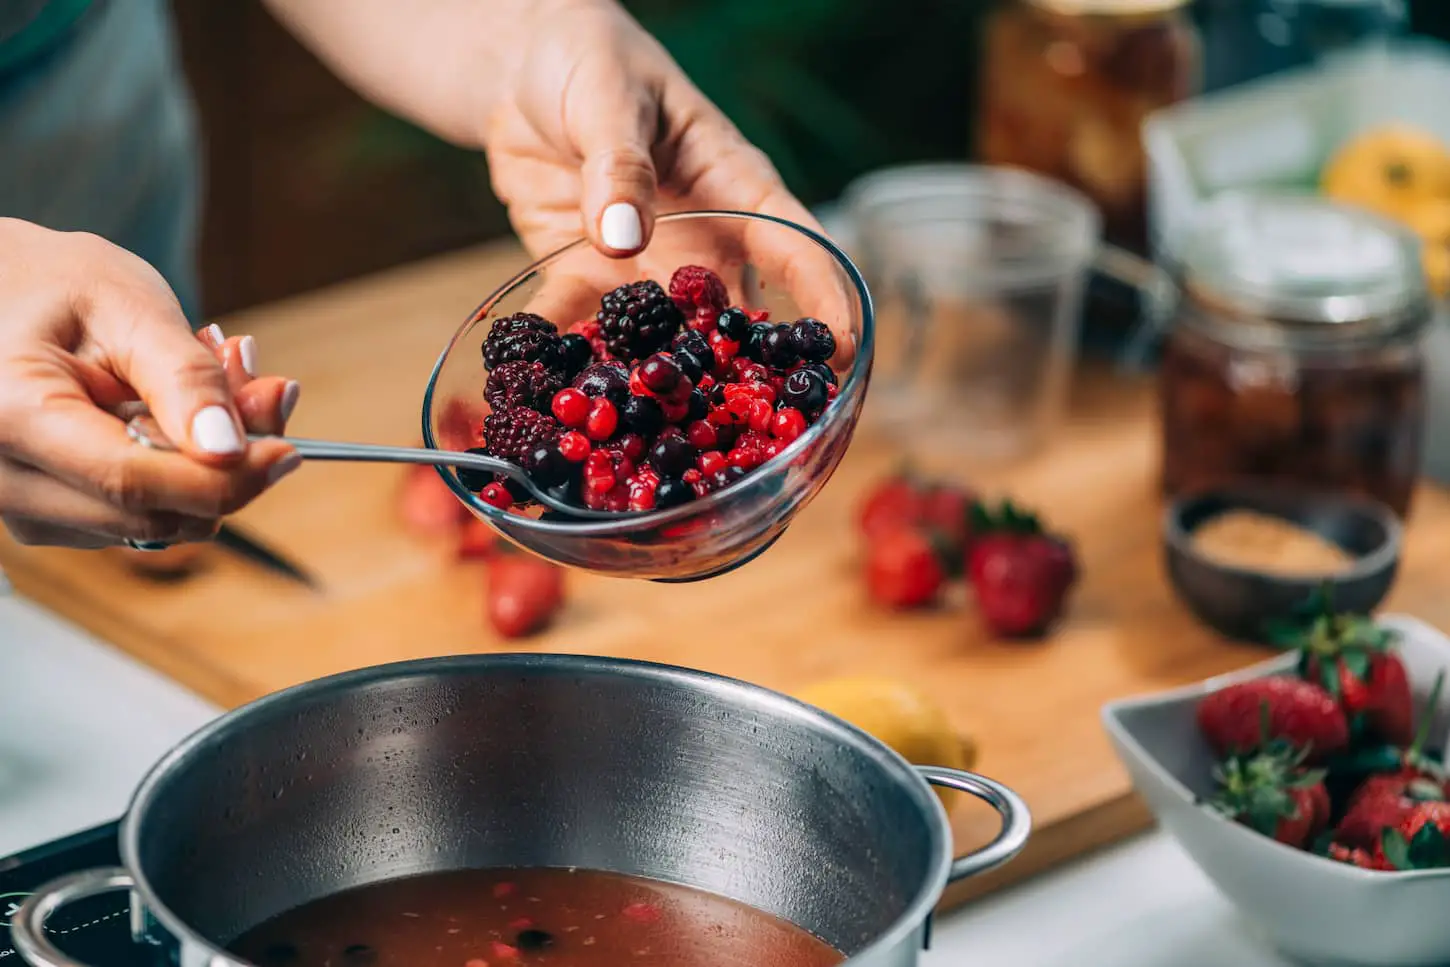
Step 3 – Load the jars
Once that’s done, it’s time to load the jars with berries. There are two ways to do this, depending on the berries.
Hot Pack
For: blueberries, currants, gooseberries, huckleberries
- Parboil or heat the berries in boiling water for about 30 seconds.
- Drain the water.
- Pour the berries into the jars.
- Cover the berries with hot juice.
- Leave 1/2-inch headspace.
Raw Pack
For: All other berries
- Fill the jars with the raw berries.
- Shake the jar to help the berries settle.
- Cover the berries with hot juice.
- Leave 1/2-inch headspace.
Next, put the lids on the jars and adjust the lid as needed. Go ahead and put the ring on to help keep the lid in place. It doesn’t need to be super tight – just tight enough to keep it in place.
Place the jars, now loaded with berries and closed with lids, into the water. We’ll need a jar lifter, which usually comes with the canner, as we can’t exactly put our hands in 180°F water! At least not without injury.
It should go without saying that the jar should be placed upright, with the lid pointing to the ceiling.
At this point, recheck the water – there should be an inch of water above the jar lids. However, if the process takes more than thirty minutes, at least two inches of overhead water is recommended.
Don’t forget to put the lid on the water bath canner! This will help prevent too much water loss.
Step 4 – Turn the heat up
If the water level is fine, we can turn the heat up to the highest level, put the lid on the canner, and wait for the water to boil. Once the water boils, start a timer to the time required to process the food.
We’ll skip the science, but it’s all about adiabatic physics. This is extremely important – refer to the table below for the time required (this table is valid for berries only):
| Altitude and time requirements | Altitude and time | Altitude and time | Altitude and time |
|---|---|---|---|
| 0 – 1000 feet | 1000 – 3000 feet | 3000 – 6000 feet | 6000> feet |
| 15 minutes | 20 minutes | 20 minutes | 25 minutes |
During the entire process, there has to be at least an inch of overhead water. If it boils away, add more water. If the temperature drops and the water stops boiling, turn the heat until it starts boiling again.
Reset the timer – don’t resume.
Step 5 – Finish canning
Once the allotted time has passed, remove the canner lid and leave the canner open for five minutes. Take the jars out with a jar lifter (once again, please don’t use your hands, as the water is still hot) and put them on a cooling rack. Cooling racks for baking are great in this regard.
Don’t put the jars out in the cold (the glass could easily crack) or on a cold surface. Also, don’t huddle them all together, as it’ll take a long time for them to cool down. Keep them at a regular temperature to cool down. As tempting as it would be to put them in a cold area to cool down faster, don’t do it. This could crack the glass. Or, if you stick them in a fridge – it could break your fridge (here’s the science behind why that is).
Give them a day to cool down – during that time, let them rest. Don’t mess with the ring bands or with the lids.
Depending on the time of year we’re canning and what else is going on, I’ll let them rest on the counter (on a cooling rack) in the kitchen or on a cooling rack in our pantry downstairs away from other food. After all, I don’t want to heat the other food.
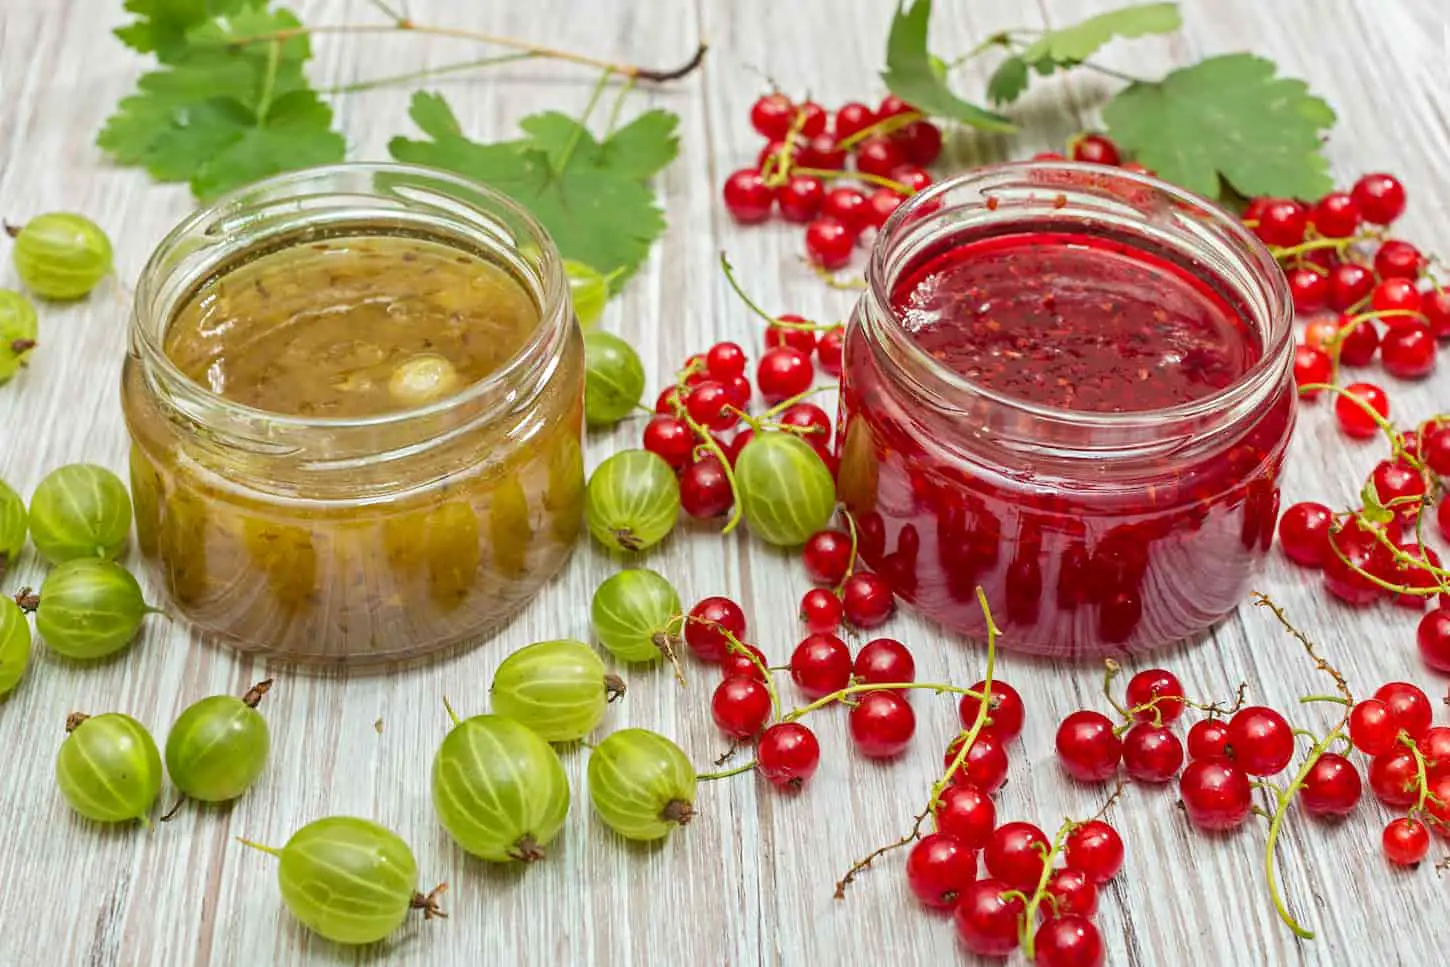
Step 6 – Store the canned berries
The jars have now cooled. We can remove the ring bands from the jars if we want to. I tend not to because I’ve got plenty of ring bands and don’t want to store them.
If we notice that some jars haven’t sealed well, don’t store them. Instead, eat the contents ASAP. The canning process can fail, though it’s not super common. The food won’t be unsafe, but it shouldn’t be kept for long.
Store them in a dark, cool, and dry place to ensure quality.
Which berries can be canned traditionally (in a water bath)?
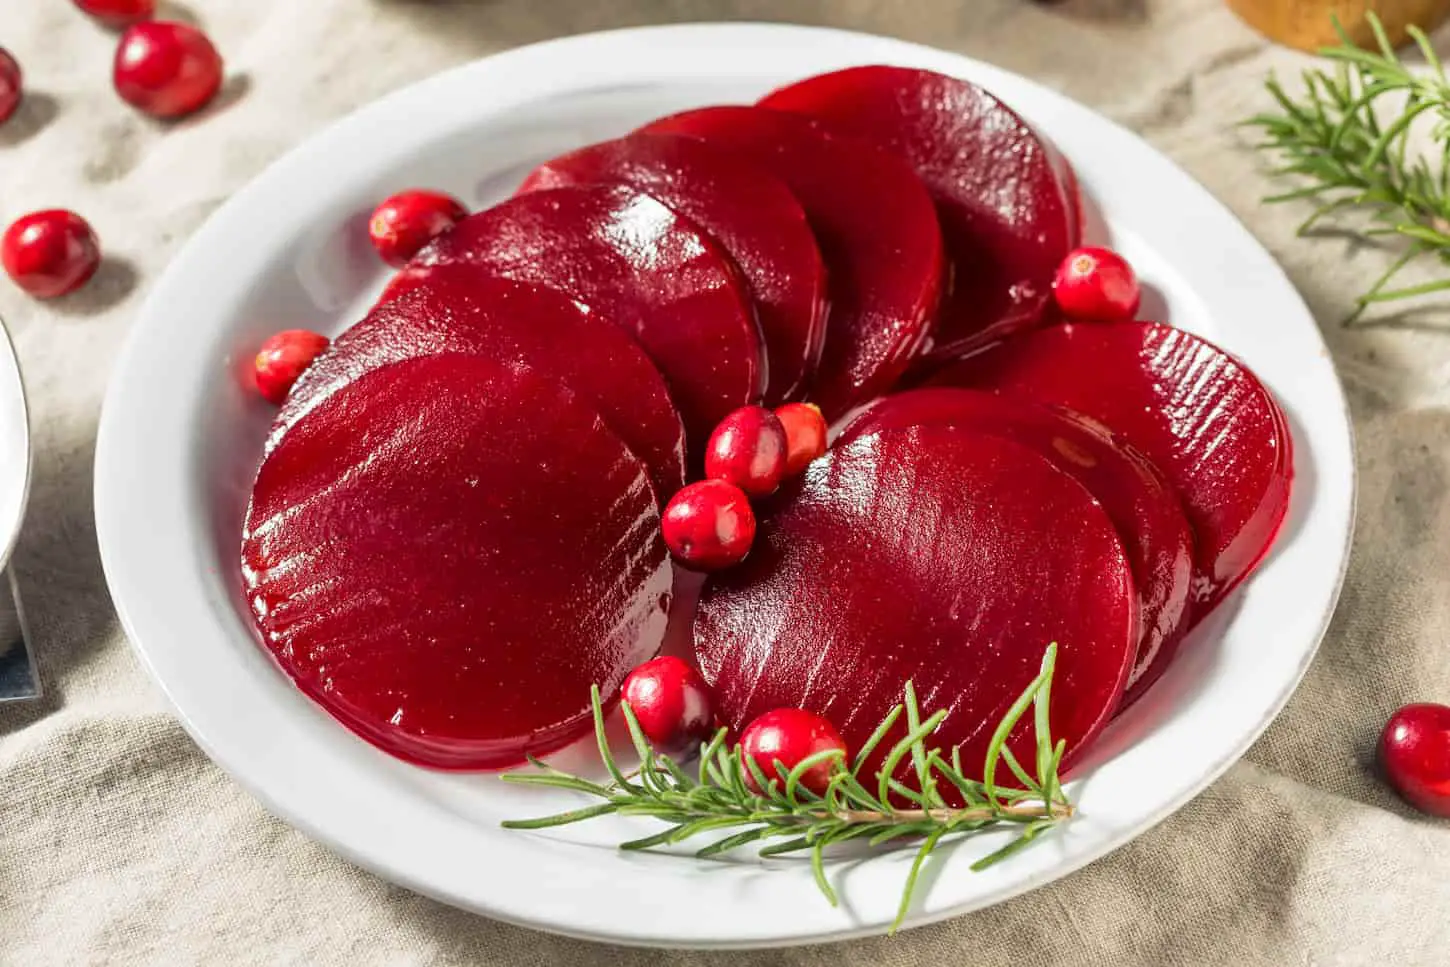
Blackberries, blueberries, dewberries, currants, huckleberries, loganberries, gooseberries, mulberries, and raspberries can all be canned traditionally in a water bath canner. Cranberries, however, need to be canned with the water bath method.
We shouldn’t can cranberries with a pressure canner.
How to Can Berries with a Pressure Canner
First, make sure the canner is working correctly. Clean it according to the instructions. Add three inches of water, and then the jars. Turn the temperature to the highest setting while venting all the air out through the port. Squeeze the vent port firmly with body weight to pressurize the canner.
Pressure canners function similarly to water-bath canners, but there are noticeable differences when using them.
Preparation
To can with a pressure canner, we’ll need the following:
- A pressure canner (with lid)
- Jars and lids
- A jar lifter
- A water thermometer
- Cooling racks
Step 1 – Check the canner beforehand
Before doing anything, ensure that the canner is working properly. Clean the canner according to the instructions that came with the canner. There should be no trapped materials in the canner, vent, sealing rings, or pipes.
When cooking, the burner shouldn’t exceed 12,000 BTUs.
Pressure canners are generally safe if working properly, but faulty canners can be dangerous. Because of this, always inspect before you start canning.
Step 2 – Prepare the jars
Time to prepare those berries for pressure canning! With pressure canning, hot and raw pack guidelines still apply. In my experience, there’s more wiggle room and forgiveness room if the temperatures aren’t perfect.
Hot Pack
For: blueberries, currants, gooseberries, huckleberries
- Parboil or heat the berries in boiling water for about 30 seconds.
- Drain the water.
- Pour the berries into the jars.
- Cover the berries with hot juice.
- Leave 1/2-inch headspace.
Raw Pack
For: All other berries
- Fill the jars with the raw berries.
- Shake the jar to help the berries settle.
- Cover the berries with hot juice.
- Leave 1/2-inch headspace.
Put the lids on the jars and adjust the lid as needed. Go ahead and put the ring on to help keep the lid in place. It doesn’t need to be super tight – just tight enough to keep it in place.
Step 3 – Add water and jars
If not specified in the instructions, add three inches of water to the canner. If the instructions say otherwise, follow the manufacturer’s instructions. They are always superior to a generalist guide.
Put the jars in the water and turn the temperature to the appropriate setting while exhausting all air from the canner through the vent port. Squeeze the vent port with your body weight to pressurize the canner.
It can take up to ten minutes for the canner to pressurize once we take our body weight off.
Step 4 – Time for canning
There’s a gauge with a dial that shows the pressure within the canner – once it points to the recommended pressure, we can start the timer.
Follow the tables below for appropriate process times – once again, for berries only.
For dial-gauge pressure canners:
| Jar Size & Pack Type | Process time | 0 to 2000 feet | 2000 to 4000 feet | 4000 to 6000 feet | 6000 to 8000 feet |
|---|---|---|---|---|---|
| Hot packing pints and quarts | 8 minutes | 6 PSI | 7 PSI | 8 PSI | 9 PSI |
| Raw packing pints | 8 minutes | 6 PSI | 7 PSI | 8 PSI | 9 PSI |
| Raw packing quarts | 10 minutes | 6 PSI | 7 PSI | 8 PSI | 9 PSI |
For weighted-gauge pressure canners:
| Jar Size & Pack Type | Process Time | 0 to 1000 feet | Above 1000 feet |
|---|---|---|---|
| Hot packing, pints, and quarts | 8 minutes | 5 PSI | 10 PSI |
| Raw packing pints | 8 minutes | 5 PSI | 10 PSI |
| Raw packing quarts | 10 minutes | 5 PSI | 10 PSI |
The pressure should always be at the assigned amount during cooking. If it drops, bring it back up by raising the temperature (stoke the fire) and restart the timing process. If it goes up, bring the heat back down.
Step 5 – Finish canning and storage
Once the time has passed, turn off the heat and let the canner cool down without opening it. Don’t try to cool it with cold water – just let it cool down naturally.
The canner will depressurize on its own as it cools down, which can take up to forty-five minutes. Once we’re sure it’s depressurized, remove the weight from the vent pipe and wait for up to ten minutes before removing the lid.
Remove the jars from the pressure canner using your jar lifter. Put them on a cooling rack.
Let the jars cool down naturally before removing the ring bands (which can take up to twenty-four hours) and store them in a dark, dry, and cool spot.
Which berries need to be pressure canned?
No berries need to be pressure-canned; we can pressure-can blackberries, blueberries, dewberries, currants, huckleberries, loganberries, gooseberries, mulberries, and raspberries.
The only berries we shouldn’t pressure can are cranberries.
How Does Canning Keep Foods From Going Bad?
Canning removes a significant amount of oxygen in food and creates a vacuum seal to keep oxygen from entering the jar sealed with wax. This prevents food degradation but also destroys the action of enzymes which naturally cause the deterioration of food.
Aside from removing oxygen, canning prevents the growth of bacteria, yeast, and mold. Lastly, the process of canning actually vacuum seals the jars shut, which keeps the liquids in and air out.
Canning Methods You Shouldn’t Use
There are a few canning methods that are online that we should not use. These include open-kettle canning, canning in conventional and microwave ovens, and even dishwasher canning.
We might also wonder about the use of canning powders. In theory, we can use these powders as preservatives and eliminate the need for the actual canning process. In practice, this is completely false, and canning powders are useless – they don’t prevent food spoilage.
That’s not to say all food canning powders are useless; some fruits and foods will brown during the canning process or storage without these powders. However, you don’t have to use them. And honestly – you could use a bit of citric acid (or lemon juice) to get the same result. Make sure it’s compatible with the fruit and canning method before going crazy with it, okay?
Steam canners are touch and go – they’re not recommended because we need to maintain control the entire time, and more research is required to ensure their safety and effectiveness.
Lastly, it’s best to avoid dry canning as canning food without the liquid covering the cans will end up with under-processed foods (especially common with vegetables). This increases the risk of botulism.
Storing Canned Berries
It’s recommended to wash the cans to remove food residue on the outside. The best storage temperature is between 50 and 70°F, but jars can withstand temperatures up to 95°F.
Never store canned goods near pipes or a radiator. Keep canned goods (including berries) in a cool, dry, humidity and temperature-controlled location like cold storage or pantry. If you do this, the berries will be just fine.
If we store the cans in a cold spot and they freeze, the food will still be edible, but the freezing and thawing might result in a loss of taste.
Canning Berries FAQs
Frequently Asked Questions
We’re here to help! Check out our FAQs section below for answers to common questions. If we missed yours, let us know, and we’ll update the article. Contact us through our website, and we’ll respond directly to your question.
Can fresh berries be canned?
Fresh berries can be canned. Berries can also be canned if they’re a few days (to weeks) old, depending on their quality. Frozen berries can also be canned. There is no difference in the canning process, only in the taste and quality of the final product depending on how fresh the berry is when it was canned.
If you want the best-tasting berries, I recommend sticking to canning fresh berries or those no more than a week old.
Do berries need to be blanched before being canned?
Blanching is not necessary for berries. This process is important for vegetables but is not necessary for most fruits. However, some berries must be parboiled as part of the hot pack process. Berries that should be hot-packed include blueberries, currants, gooseberries, and huckleberries.
Can berries be canned without sugar?
Berries can be canned without sugar, but picking the freshest, firmest berries is important for sugar-free canned berries. Canning berries in unsweetened fruit juices instead of syrup (which has sugar) is another way to can berries without added sugars.
Canning without sugar is possible with firm, fresh berries. Canning less-fresh berries without sugar may lead to an end product that is oddly unsweet, which is a very weird experience.
Which berries can be canned with light syrup?
All berries can be canned with light syrup. It makes no difference in the process itself. Using light syrup in the canning process is a great way to limit the amount of sugar added to canning. Light syrups can also be made with fruit juice from parboiling, which can further reduce added sugar.
Which berries can you can?
| Type of berry | Can they be canned? | Canning method: water boil or pressure |
|---|---|---|
| Blackberries | Yes | Both methods |
| Blueberries | Yes | Both methods |
| Currants | Yes | Both methods |
| Raspberries | Yes | Both methods |
| Dewberries | Yes | Both methods |
| Gooseberries | Yes | Both methods |
| Huckleberries | Yes | Both methods |
| Loganberries | Yes | Both methods |
| Mulberries | Yes | Both methods |
| Cranberries | Yes | Only water-boiling canning, no pressure-canning |
How Long Do Canned Berries Last?
Canned foods have no set time limit; they can last for many years. It’s generally best to use home-canned goods within 2 years or so as long as the jar (or container) isn’t rusting, bulging, or showing any signs of problems.
There’s no set time limit for canned foods – according to the US Department of Agriculture, canned foods (in actual cans) last for years if the can itself isn’t rusting or swelling. However, home-canned goods (in jars) are generally recommended to be eaten within about 2 years.
Key Takeaways and Next Steps
Canning is a more complex process on our part than freeze-drying or dehydrating berries, but the long-lasting results are worth it. As long as we boil the jars for the required time, we’ll be just fine.
The most important things to look out for are the right boiling times, keeping the water level right, and keeping the canner clean and functional.
Ready to do more with berries? Check out our complete guide to berry storage: How to Store Berries Safely Short and Long Term.
Resources
Learning from your own experience is essential, but learning from others is also intelligent. These are the sources used in this article and our research to be more informed as homesteaders.
- “Before You Toss Food, Wait. Check It Out!” USDA, 27 June 2013, www.usda.gov/media/blog/2013/06/27/you-toss-food-wait-check-it-out.
- National Center for Home Food Preservation | UGA Publications. nchfp.uga.edu/publications/uga/using_bw_canners.html.
- National Center for Home Food Preservation | How Do I? Can Fruits. nchfp.uga.edu/how/can_02/cranberries.html.
- National Center for Home Food Preservation | How Do I? Can. nchfp.uga.edu/how/general/how_canning_preserves_foods.html.
- National Center for Home Food Preservation | NCHFP Publications. nchfp.uga.edu/publications/nchfp/factsheets/steam_canners.html.
- UGA. (n.d.). Retrieved December 11, 2022, from https://nchfp.uga.edu/publications/usda/GUIDE01_HomeCan_rev0715.pdf
