Sometimes chicken coops get muddy. It can happen for a lot of reasons – from rain to flooding to sprinklers to drainage issues to an open run. But what can you do when your chicken coop is muddy?
To fix a muddy chicken coop and run, first identify the cause of the mud. Then, fix the issue or, if the problem isn’t easily remedied, move the coop and run to a drier area. Common fixes include adding a roof, building a floor, or adding fill material that improves floor drainage and quality.
Keep reading to get some easy, actionable ideas to fix whatever it is that’s causing your coop and run to be crazy muddy – so that your chickens can be happier and healthier.
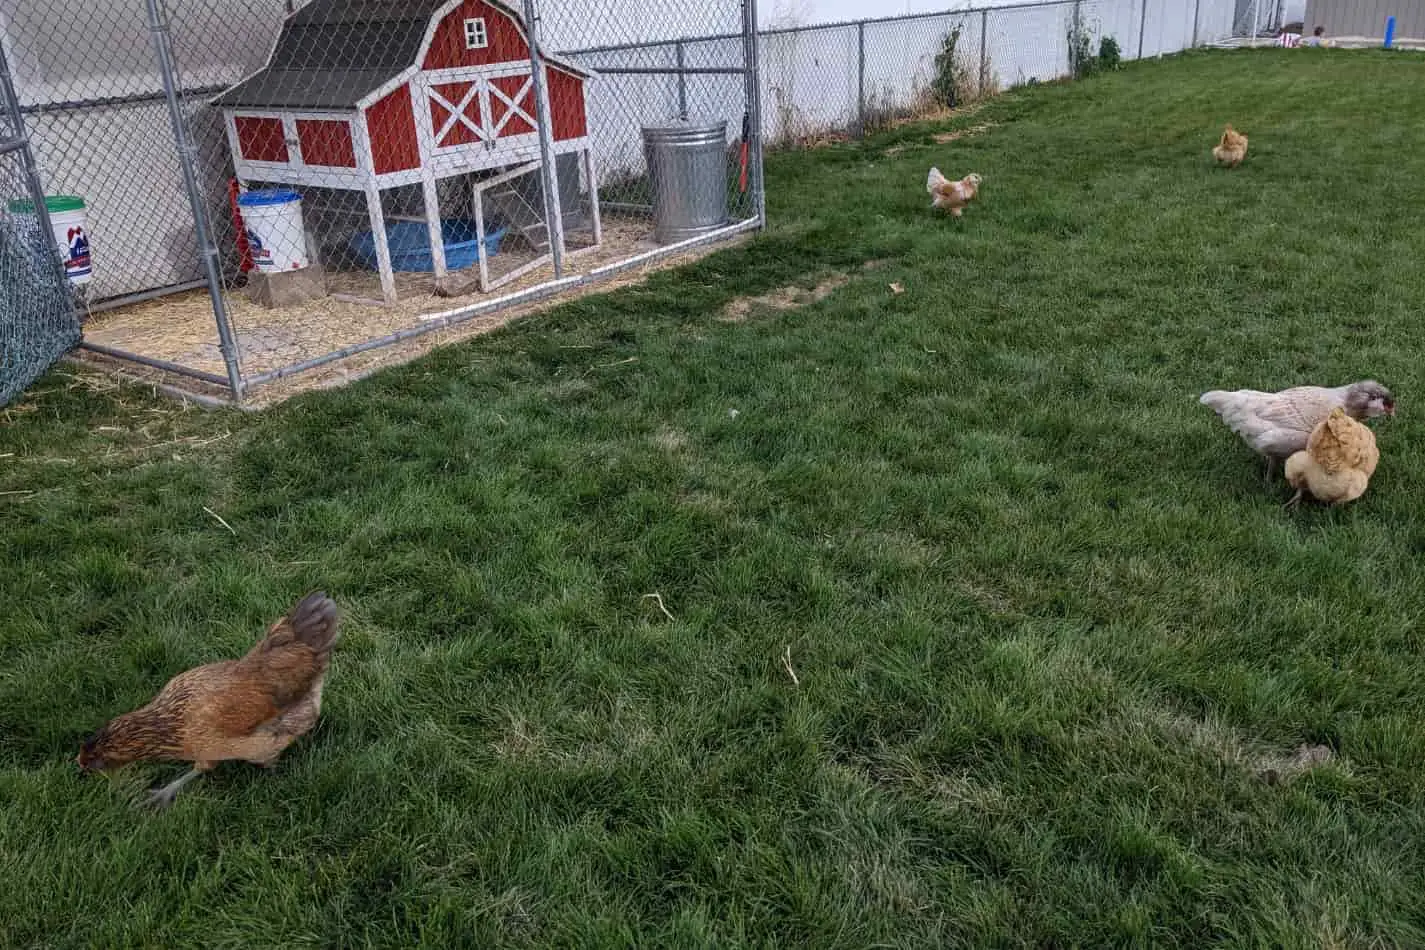
Figure out Why Your Coop is Muddy
The most important step to fixing a muddy coop is determining what’s causing the mud in the first place. Because if you don’t fix or at least address that, then anything you do is still going to involve mud.
So, let’s figure out common causes and solutions for muddy chicken coops and runs.
| Causes for Mud | Notes | Mud-Fixing Ideas |
|---|---|---|
| Coop and Run Placement | Pick your coop location well (before you start keeping chickens) to avoid mud and predator problems. | Pick a better spot for your chicken coop and run OR enhance the existing area so mud becomes a non-issue. |
| Drainage and Grading Issues | This is a common reason for coop mud – water drains from the yard into the run. | Either move the run OR build up the coop area so it doesn’t collect mud. |
| Open Run | Rain and an open run equal mud. | Cover the run. |
| Chickens Eat all the Vegetation (Grass) | If it’s a small run, chickens will eat all the vegetation. Any dirt and water become mud. | Expand the run and available pasture area OR elevate your chicken’s floor with a built floor or added filler. |
| Coop and Run Runoff | A roof is great – unless all that runoff is draining into the coop and/or run. | Ideally, a coop/run roof should lead runoff away from where your chickens are. |
| Flooding (Due to Rain) | Areas that flood due to normal rain is a drainage issue. | Either move the coop OR enhance the area to avoid mud. |
| Flooding (Other) | Areas that flood due to irregular weather, disaster, or flood-based irrigation will lead to mud. | Survive the flood. Then, elevate the area or move the coop to an area less prone to flooding. |
| Sprinklers | Sprinklers that hit the coop and run will lead to mud. | Adjust the sprinklers to minimize any water that hits the run. |
| Melting Snow | This could be a drainage issue, a roofing issue, or a flooring issue. | Move the coop or enhance the coop and run to make snow melt problems disappear. |
| Built-Up Chicken Manure (Plus Water) | This is usually tied into another reason plus there’s too much poop piling up. | Use a filler, like straw or wood chips, to keep poop from becoming mud. Clean out the coop, run, and excess manure regularly. Give your chickens more space. |
Usually, it’s not just one reason that your coop and run are muddy, though. It’s usually due to a couple of reasons. Even so, find the most basic reason – and fix that.
Then, you can find secondary reasons to address and fix.
What to Do about Mud in a Coop and Run
Okay – so your existing coop needs some enhancements or adjustments to control the mud. Here are some factors and considerations to make that change – and some notes to keep you on track.
| Consideration | Notes |
|---|---|
| Coop and Run Location | Coops should be located in well-draining areas that aren’t low, water-collecting points in a yard. If this is the cause, you’ll either need to move the coop or build it up. |
| Regrading an Area | If you can’t move your coop, you may want to regrade the area it’s in. Be prepared to do a lot of shoveling – or rent some kind of equipment. Sand and gravel may be great alternatives to help you regrade faster. |
| Environment and Locale | Where you live is going to affect the mud. We’re in Utah (a technical desert), so we don’t get as much rain as would the Pacific Northwest. You need to account for your location, environment, and local weather patterns. |
| Roofing | Covering the coop and run with a roof will help prevent so much mud! Just make sure the roof extends past the run so that drain-off doesn’t become an issue. A tarp can work, but it really is a temporary solution – even in not-super-rainy Utah. |
| Siding | Depending on rain or snow, you may want to enhance the siding on your coop or run. This can prevent driving precipitation from entering and mud-flying the coop or run. |
| Flooring | If dirt and mud are a perpetual problem, build your coop on some flooring or build flooring inside of the run. Currently, our coop is on a concrete pad, which is great at mud control. |
| Trenches or Drainage Systems | If regrading alone doesn’t work, consider digging trenches along the perimeter of the coop to lead water elsewhere. You may want to install buried drainage systems, too. |
| Fill Material for the Floor or SubFloor | Keep mud away by adding fill material on top of the floor, subfloor, or right on the dirt. There are lots of options for fill materials and floors that fit every budget. |
| Add Roosts and Perches | Give your chickens somewhere to roost and perch that’s above the mud – even temporary mud. Build them some extra roosts and perches that are weather-proofed to the best of your ability. |
One of the fastest ways to fix mud (temporary or more permanent) is by adding a floor, a roof, and filler. The easiest (and most cost-effective) of the three is to add filler. This can help improve drainage, re-grade the area, and improve your chicken’s diet all at the same time. So, let’s talk about filler.
Use This Fill Material to Control Mud in Runs and Coops
Fill material can be made up of a lot of different things. In any case, you add it to the floor of your chicken coop and run to improve the drainage, help re-grade the area, and give your chickens something to scratch while looking for food.
Here are some of the most common filler materials – along with some pros, cons, and notes to help you pick the best option for your flock.
| Filler Material | Pros | Cons | Notes |
|---|---|---|---|
| Straw | It’s usually cheap and readily available. | It gets everywhere! | Straw doesn’t break down as fast as some of the other filler materials I’ve tried. It’s a great option – and I love that it is biodegradable which I can add to our compost. |
| Deep Litter | Can keep the coop and run warmer during winters and cold weather. Plus, it takes very little effort. | If not done right, it can significantly raise the risk of disease and infection. | We use deep litter (with straw) in the run but not inside our pre-fab coop. We use a modified deep-litter with pine shavings in the pre-fab coop. |
| Build a Boardwalk or Porch | This is a more permanent flooring solution that can help manage mud. | This is a lot harder to do when space is limited or mud takes forever to dry out. | A popular option is throwing pallets in as a new floor. It’s easy and can be free or super cheap. |
| Wood Chips and/or Mulch | This coarse filler material works great due to how long it takes to decompose. And the bugs that help decompose it are a great snack for chickens! | Getting them can be a pain, depending on your specific circumstances. | Call a tree service to get free or low-cost wood chips. Our local dump sells wood chip style mulch for super cheap – we just have to pick it up. |
| Grass Clippings | A free, super-great way to add organic material to a coop or run floor, which will improve drainage and grading. | Wet grass clippings don’t help the problem and are super heavy. | Make sure you’re mowing dry grass to add as filler. |
| Leaves | Another free way to deal with compost and add organic material (and snacks) as a filler. | Leaves, when wet, get sticky and don’t help as much with mud as I’d like. | Make sure leaves aren’t the only filler you’re adding – they work better in tandem with another filler material. |
| Kitchen Scraps and Compost Material | It’s more free organic material to improve the drainage and grading. Plus, the chickens will enjoy pecking at the scraps. | Adding scraps that are unsafe for chickens would be a horrible idea. | Make sure you’re only adding safe, biodegradable compost that chickens can eat. |
| Hay Bales | These are fairly easy to come by and the chickens will scratch them apart on their own. | They’re dang heavy! | You may want to start breaking it apart for the chickens, depending on how much mud you’re trying to control. |
| Wood Scraps or Other Items | These can make a nice, raised area or pseudo-perch for chickens – especially in extra-muddy cases. | Depending on what you use, they may not look very pretty. | I’ve seen pictures where people use wood scraps, tires, cinder blocks, and even a ladder! |
| Pine Needles | Another free to low-cost filler material. | Pine needles are pokey and, when stacked too deeply, prevent vegetative growth. | If you’re going to try pine needles, I’d suggest you try using them in addition to other filler materials. |
| Pine Shavings | Pine shavings, when bought from the horse section (rather than the rabbit section) are dang cheap and degrade well. | They degrade a little too quickly if added to the muddy or wet areas. | We use pine shavings inside our pre-fab coop. We use straw in the run. However, sometimes I will dump a few extra pine shavings in with the straw. |
| Sand | Sand helps improve drainage and can improve grading concerns. | Sand will wash away over time. It also won’t help mud when it’s super wet. | You’ll have to add sand on a regular basis if you’re choosing it as your filler material. It’s best to use it in combination with gravel. |
| Gravel | Gravel can help improve drainage and grading concerns. | It’s not very comfy for chicken feet. | Use sand for better results. Consider layering gravel, then sand, then another filler material (like straw) for best results. |
If there’s a good bit of mud, you may want to combine several ideas. For example, you may want to do one of the following.
- Build a floor.
- Build up a subfloor of wood so that the mud is mostly covered by the subfloor. Pallets are a great option.
- Cover the subfloor with your favorite combination of filler material.
- Build up the area with gravel and sand.
- Remove the mud or let it dry out.
- Put gravel in the hole up past the concerning area.
- Cover with sand (so your chickens aren’t walking on that hard gravel).
- You may also want to build an edge around your coop and run to minimize sand loss.
- Use a combination of subflooring, floors, random wood scraps as an oasis from the mud, and other filler materials.
Oh – and don’t forget to add some extra perches. Chickens always love to perch. And having a perch can help chickens stay dry – even if there’s some surprise mud.
Move Your Chicken Coop and Run
If you’re still considering where to build your chicken run and coop, then this should actually be your first step.
However, if you’ve already got a chicken coop and run, this is more likely to be a last-ditch effort – unless adjusting the coop is just too much work. Then, you’ll want to consider moving the coop and run.
So whether you’re still in the research phase or you’re trying to figure out if you need to move your chicken coop, let’s talk about the perfect setup and place to put your chicken coop and run. That way, your new spot can be your permanent chicken placement.
- Check the area’s grading.
- Check the area’s drainage.
- Pick a spot to build a mud-free chicken coop and run.
- Improve it as you go.
First, pick an area that isn’t a low spot in your yard. If you aren’t sure if it’s a low area, watch your yard during a rainstorm. Where does the rain drain and collect? Don’t build your coop there.
Next, check the drainage on where you’re considering putting your coop and run. Does the water stand there for a while? Or does it drain (either into the soil or down off of that spot) pretty quickly? If you’re left with standing water, pick somewhere else – or improve the area’s drainage.
You can improve an area’s drainage by adding a combination of sand, gravel, and/or organic material to that area once it’s dried out. Adding the filler material to a muddy area doesn’t usually help dry it out much.
Next, pick a spot and build your chicken coop. Add on a roof (that extends past the run) to prevent rain and snow-related mud. Extending it past the coop and run will help ensure your grading and drainage quality stay where you want it – and that the mud stays away.
Finally, improve things as you go. Odds are that you’ll find a few issues. Find and fix those as you go. We’ll talk about how to do that next.
How We Figured Out and Solved Our Mud Problem
Our chicken coop and small run are currently on a concrete pad – we converted a dog kennel and chain-link fencing into our chickens’ home. So we didn’t have grading issues or a dirt floor to worry about, because the concrete pad is raised above the rest of the surrounding grass.
However, we did have sprinklers that hosed down our chicken run every day, causing the chicken manure and provided dirt bath (in a kiddie pool) to become quite muddy.
So we first adjusted the sprinklers. That took some time – and hiring a professional. Hiring help wasn’t our first choice, but it did become necessary once we discovered that our sprinkler layout was the issue. Once that was fixed, the sprinklers no longer caused mud.
We also had no roof on the chicken run. During the first few summer months, having chicken wire stretched across the top was an adequate pseudo-roof. It kept out predators and we didn’t have rain or snow to worry about – yet.
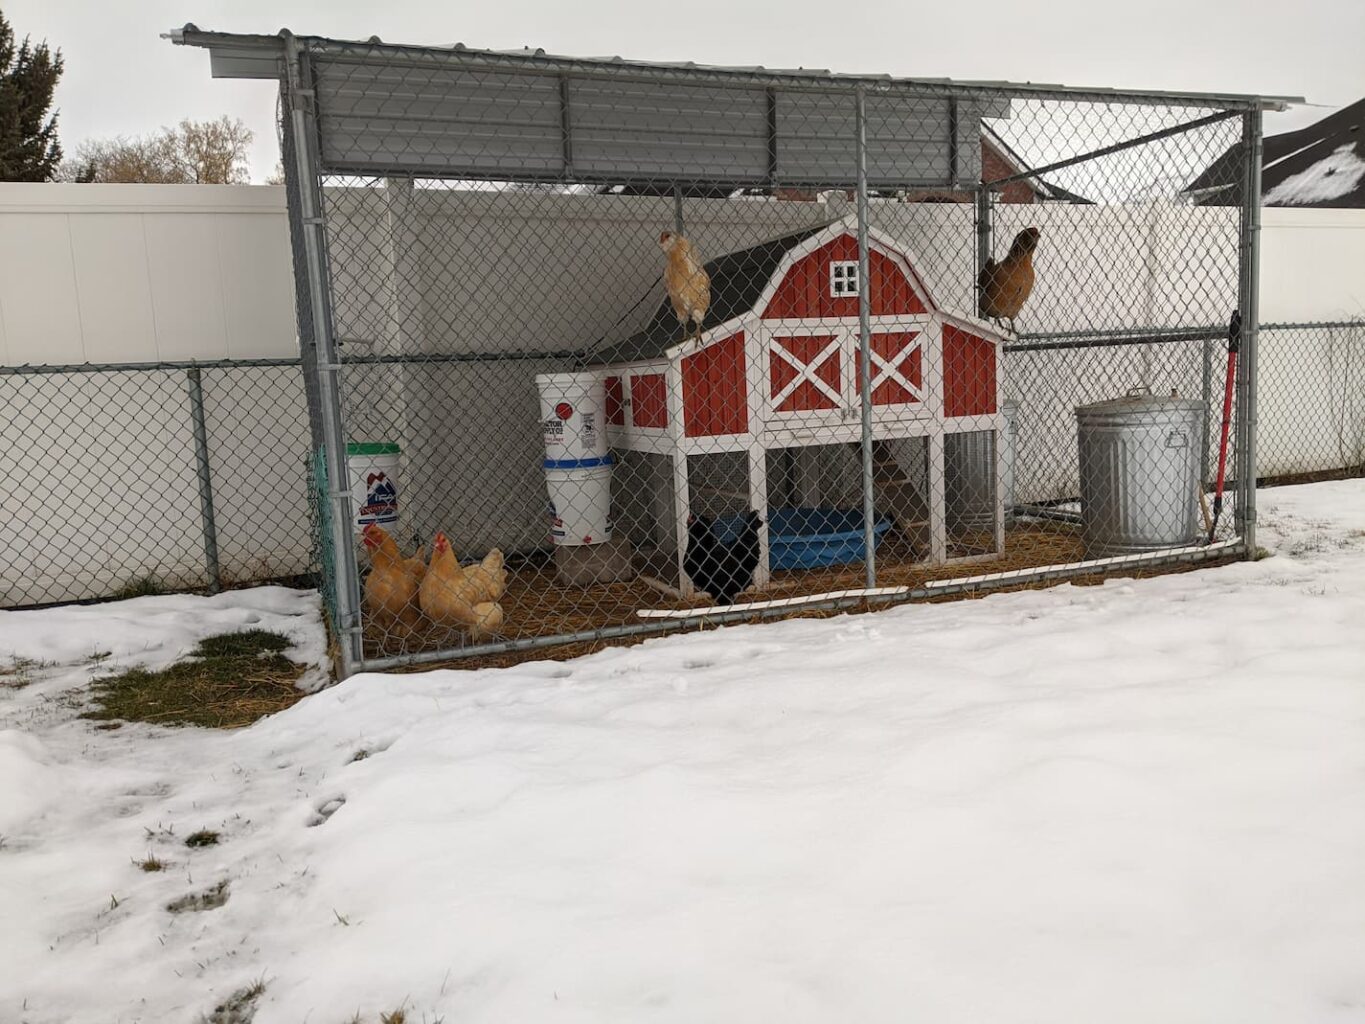
However, once fall came around, we did add on a roof. We knew that the winter snow would be an issue. We regularly get several inches (or even a foot or more) of snow at a time. We didn’t want our chickens to have to deal with that. So, we added on a sloped roof that could handle the snow load.
We also extended the roof several inches beyond the run so that runoff wouldn’t be an issue inside the coop or run. Now, our chickens can wander their coop and run – and it stays relatively dry.
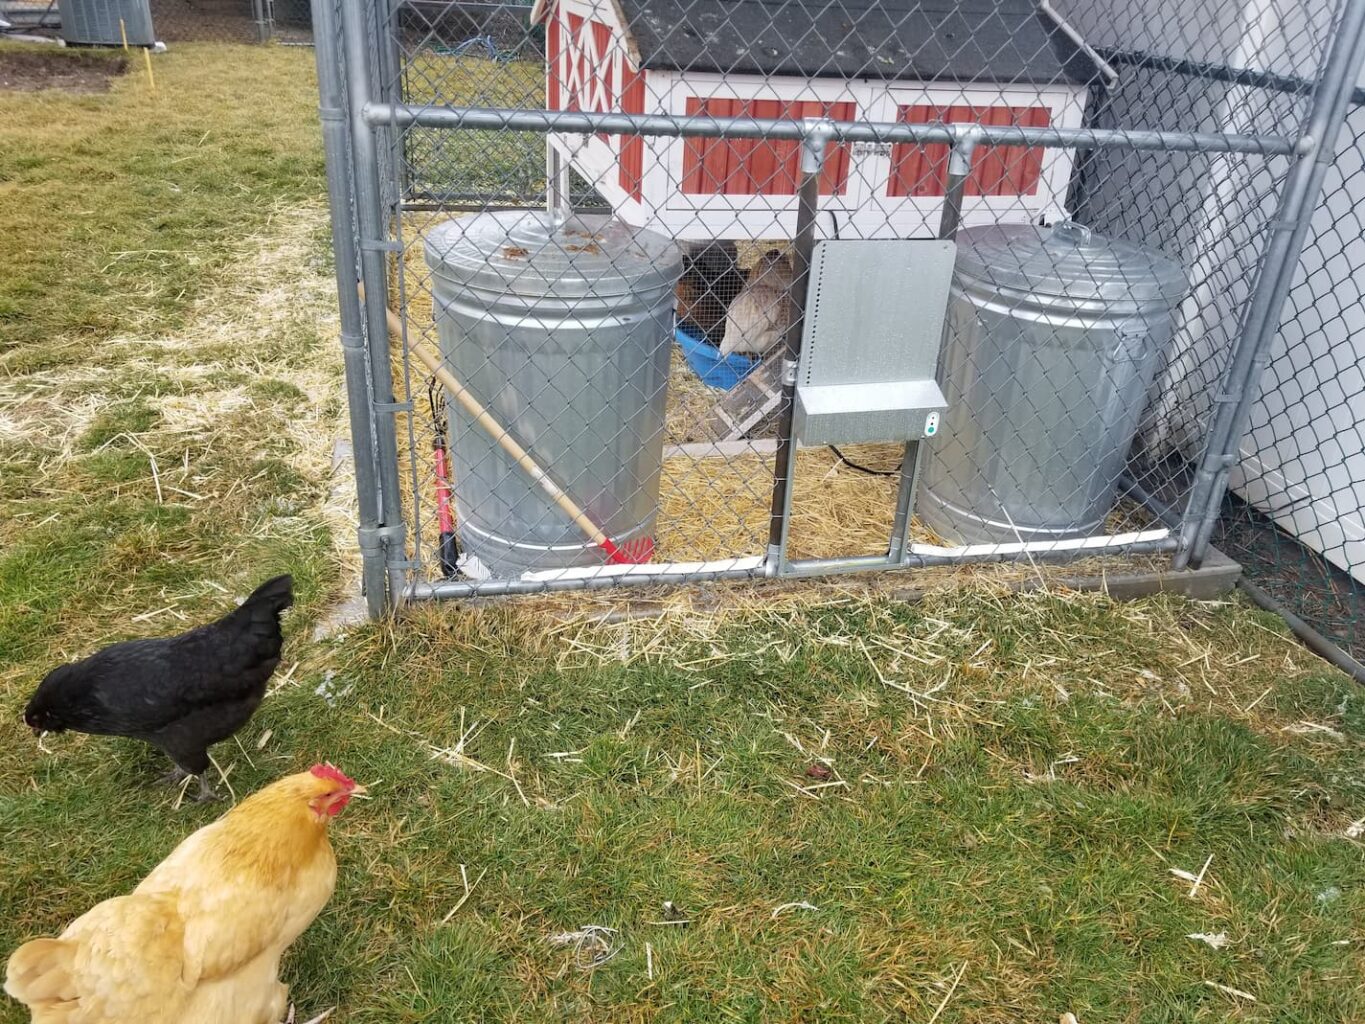
And now that we added an automatic chicken door to the chain-link fence? They can also wander their pasture – and get plenty of foraging time in an area that stays grassy.
In the future, we are considering moving our chicken coop and running to a barn/shed. If we do that, we’ll make sure we build it from the ground up to avoid mud issues – and then we’ll also use fill material to make sure things stay as mud-free as possible.
Oh – and the fill material we use on our coop and run floors? In the coop, I use pine shavings. We’ve got a store-made chicken coop, so a true deep-litter method isn’t possible. I do go about a month between cleanings by layering the pine shavings, though.
In the run, I use a regular straw. The straw, on top of our concrete pad, has worked well all winter long – and it worked great in the summer, too. At least, once we got the sprinklers under control, anyway.
Related Questions
Why do my chicken eggs smell fishy? Chicken eggs smell and taste fishy if the chicken eats too much canola meal or they have a mutation that makes fishy eggs more likely. Read more about how to prevent fishy-smelling eggs here.
Why do my chicken’s eggs have ridges? Ridges on chicken eggs happen if an eggshell gets a microbreak during the calcification process of egg-laying. To read more about chicken eggs and ridges, read our article on it here.
How long do chickens live? Chickens can live up to 20 years, though backyard chickens typically live about 8-10 years. To read about the 5 factors that impact your chicken’s life expectancy, click here.